Like a lot of other public schools we have made a significant move towards Chromebooks for student devices. Being the one that is in charge of all the technology in our district, I have to say I love them.
They are inexpensive, fast, easy to manage, and in the ufortunate circumstance that something breaks on them, they are relatively easy to fix.
I have a couple of different vendors that allow me to purchase parts when I need them. LCD screens aren't as expensive as you might think(~$30-$50) and I can replace a cracked one in probably less than 5 minutes.
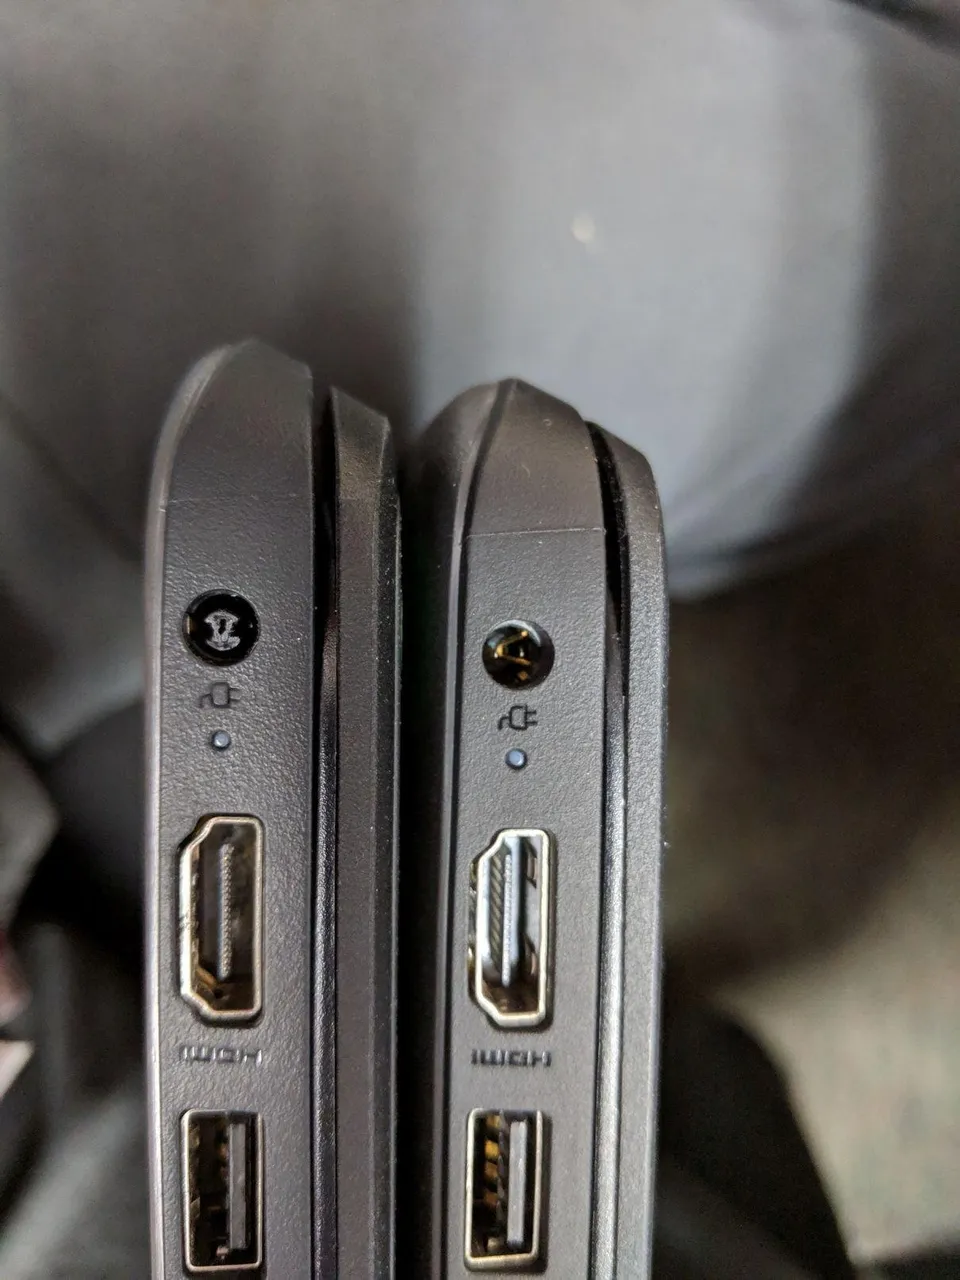
As you can see here, something happened to the power port on these two Chromebooks. The funny thing is they are from differnt classrooms in different buildings, but both of them just happened to have the same issue at the same time.
On top of that, they are both the same model (HP 5G EE). This is my first time working on this particular model because they are pretty new to our district so I thought I would document it.
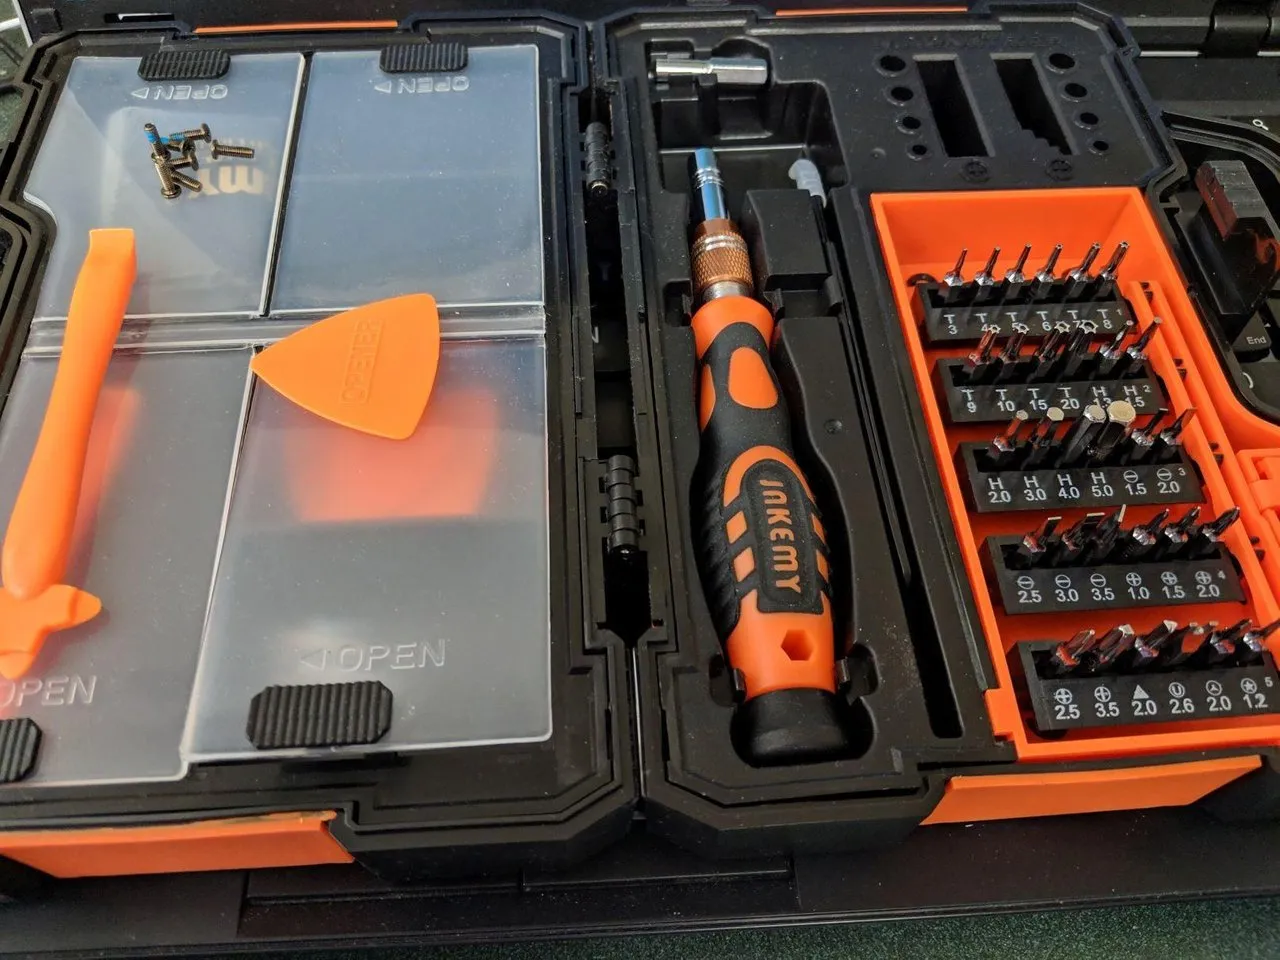
This past fall I went to my annual conference where a large number of education technology professionals from throughout the state get together. Usually the group gives us one nice welcome gift at the start of the conference. This Jakemy toolkit was our gift this year.
It may seem a little cheap, but the tools that are in it are pretty handy. I find myself using this kit more often that I would have thought. Especially because of the plastic prying tools that came with it. Those prove to be invaluable when you are tearing apart a laptop or Chromebook.
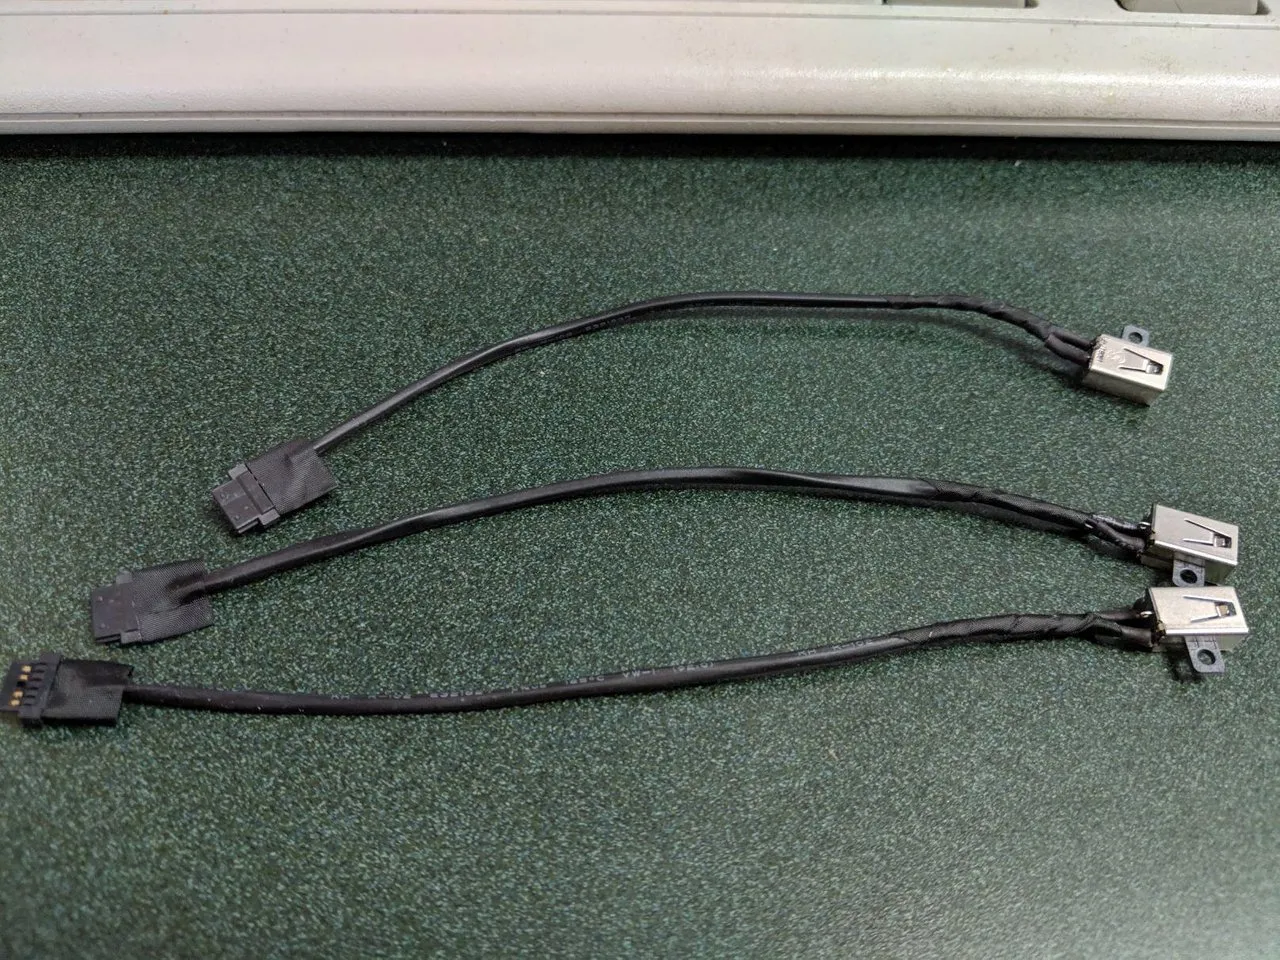
I also ordered some new power receptacles from my preferred vendor. These were about $10 a piece which I didn't think was too bad. It's not my money anyway, so no biggie right? :)
I thought it would be a good idea to order the two I needed and then one extra so I could cut back on downtime if another one happened to have the same issue.
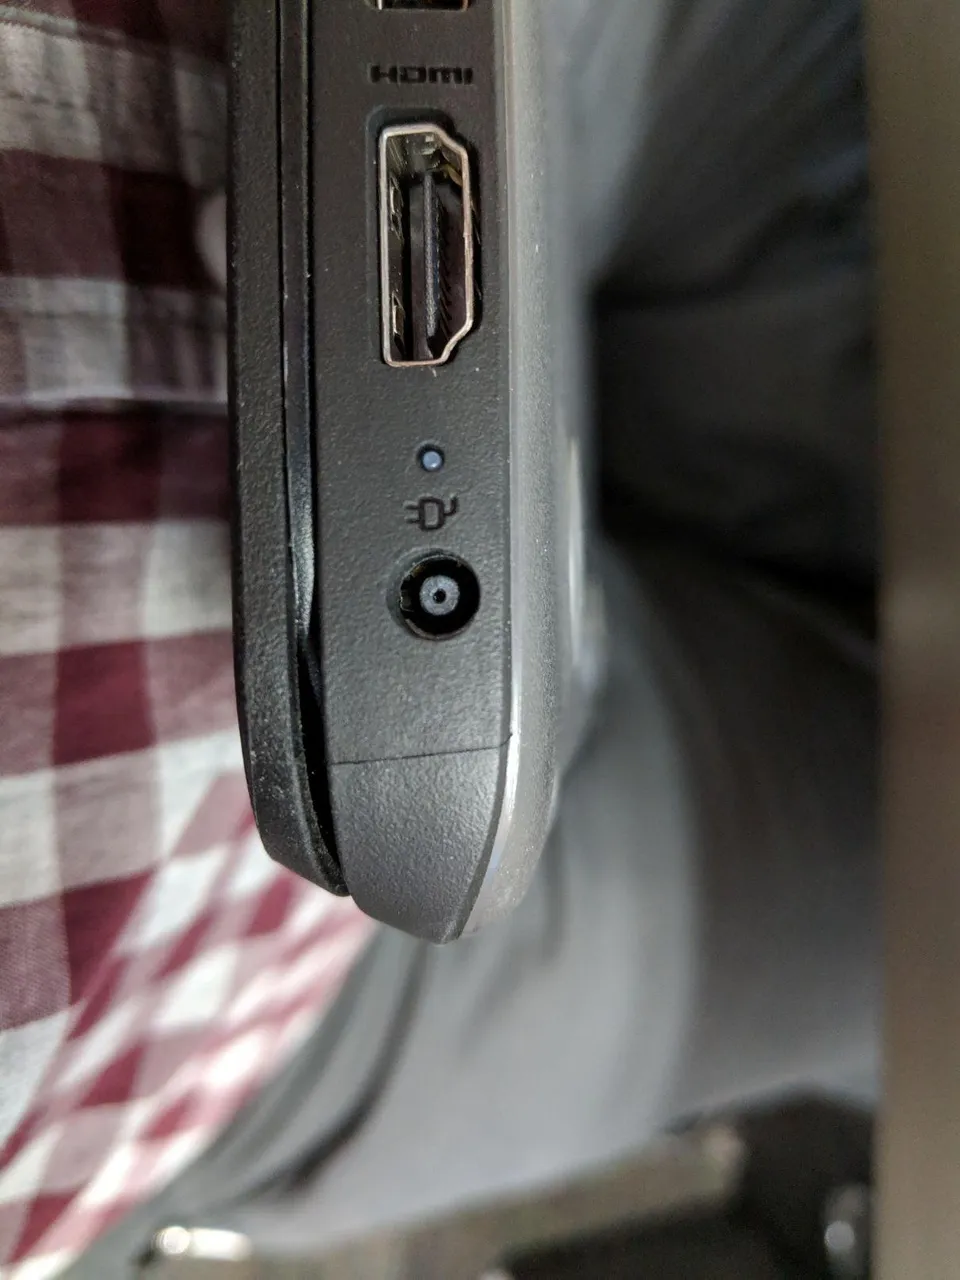
This is a picture of what the jack should actually look like. You can compare it to the picture of the broken ones above.
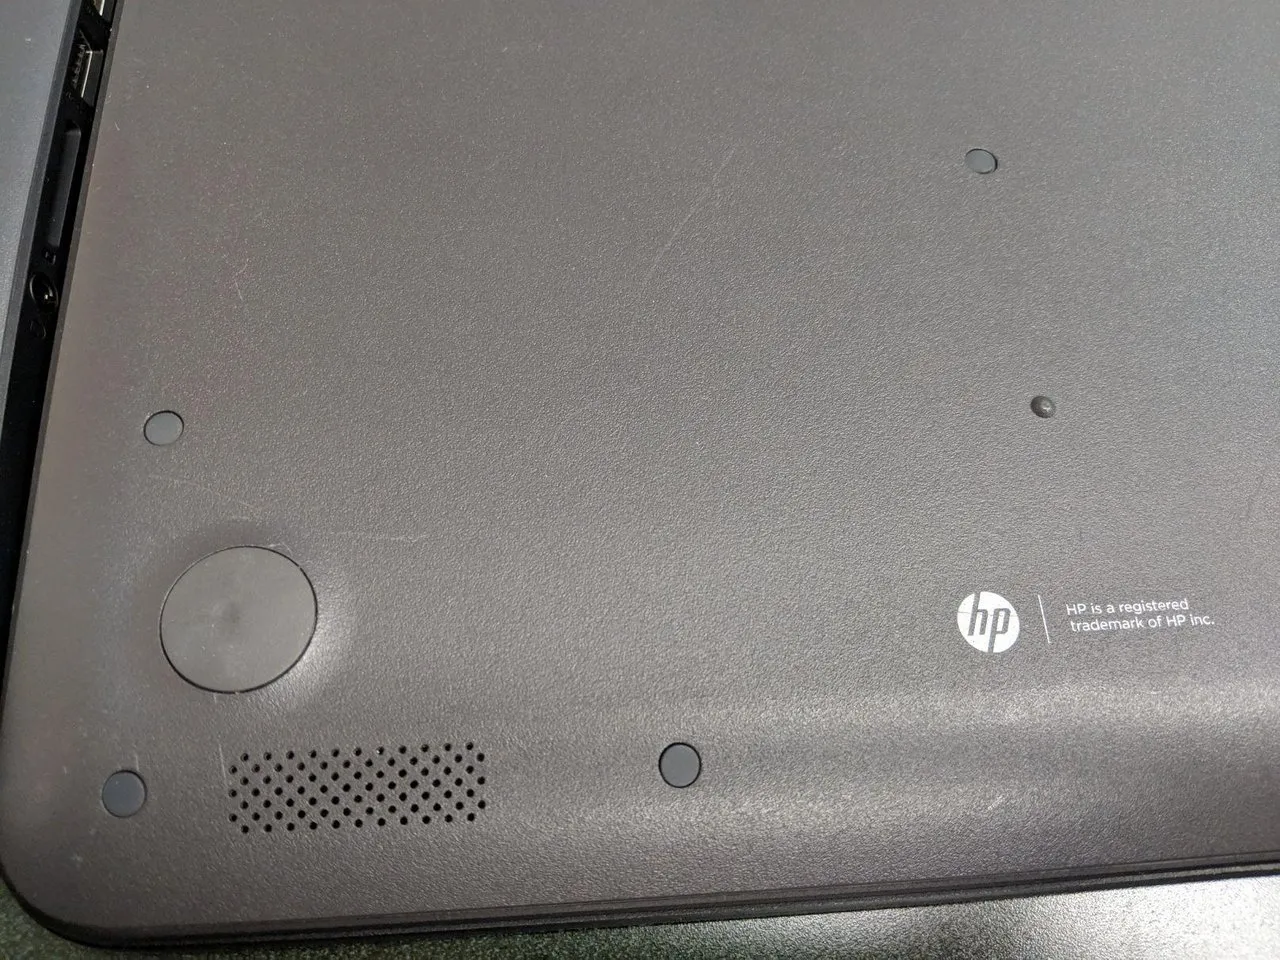
For some reason HP thought it would be a good idea to put these little plugs in each of the screw holes. I don't really know what purose they server unless it is to keep the screws from vibrating out, but I find them annoying. I pulled them all out and threw them away. I figure it is good way of reminding myself if I have worked on that particular Chromebook before.
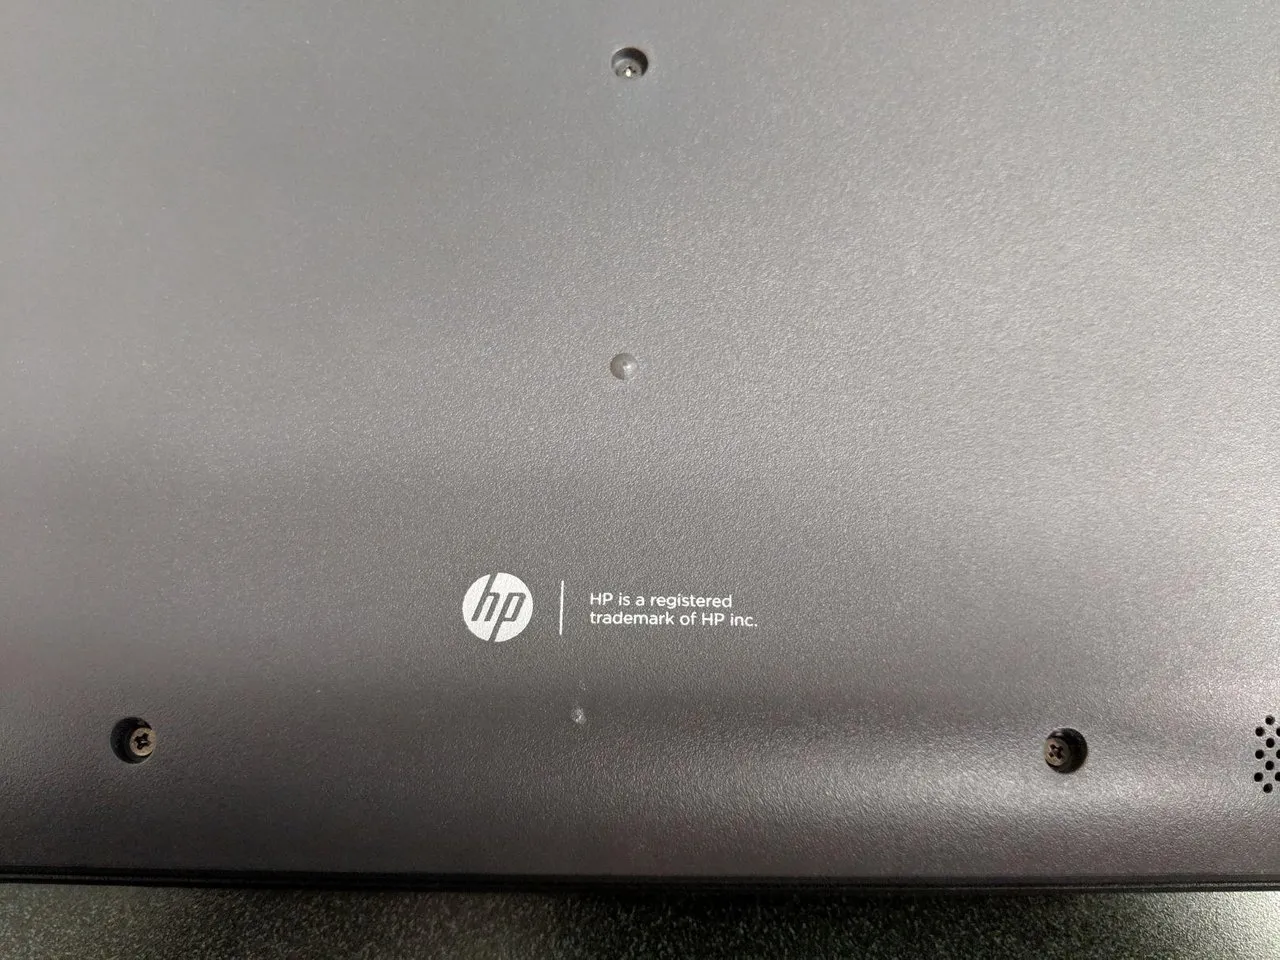
This is what the screws look like with the covers gone and this particular model of Chromebook has about ten screws on the bottom to get the cover off.
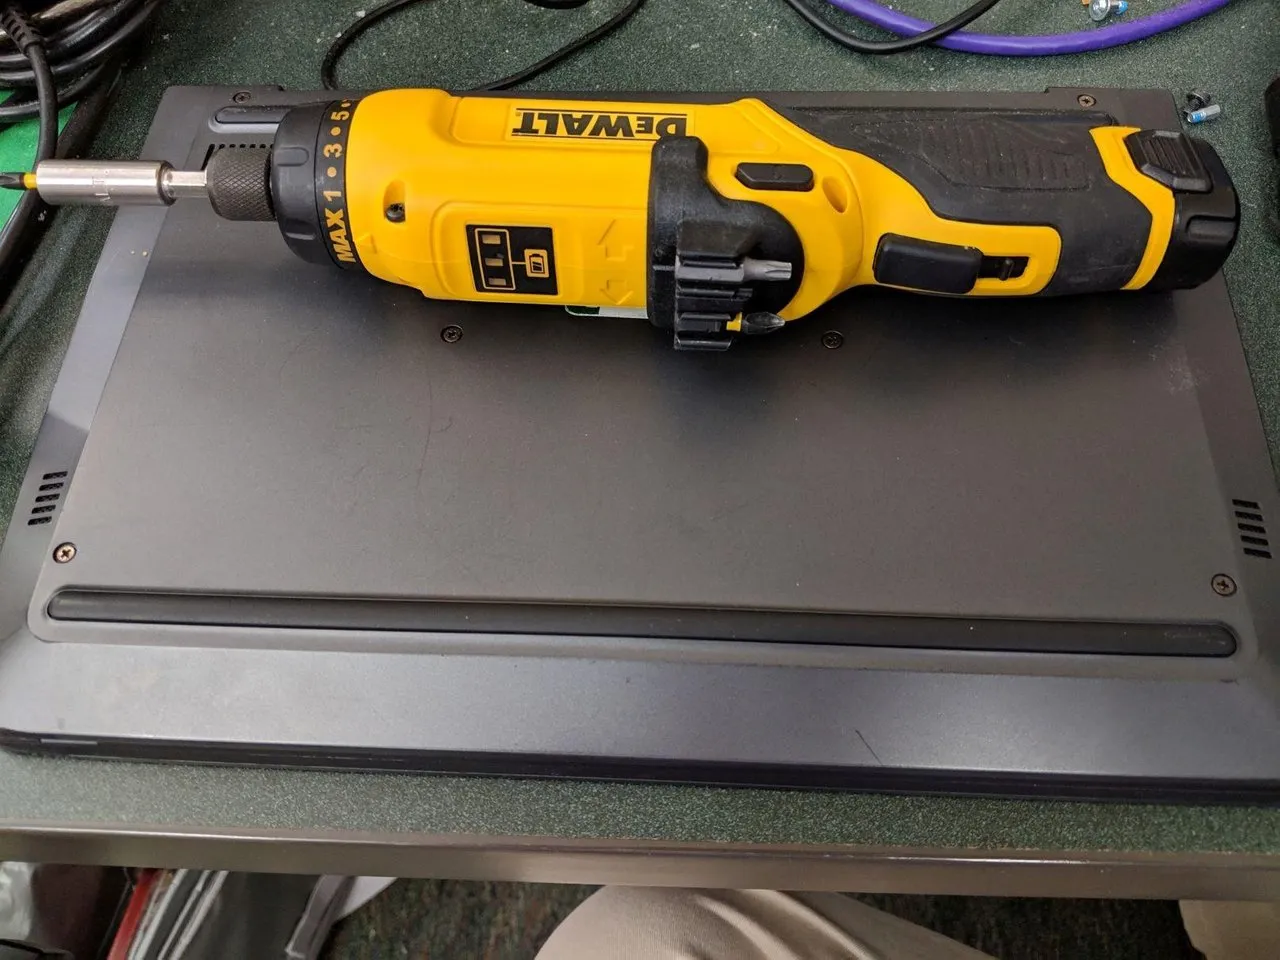
So that is why I have this little guy. Smaller than a battery drill, but still pretty powerful, this gets all of my little screws in and out in no time.
I used one of the plastic pry tools from the toolkit to get the cover off (which is actually the keyboard and touchpad) and I was met with this sight.
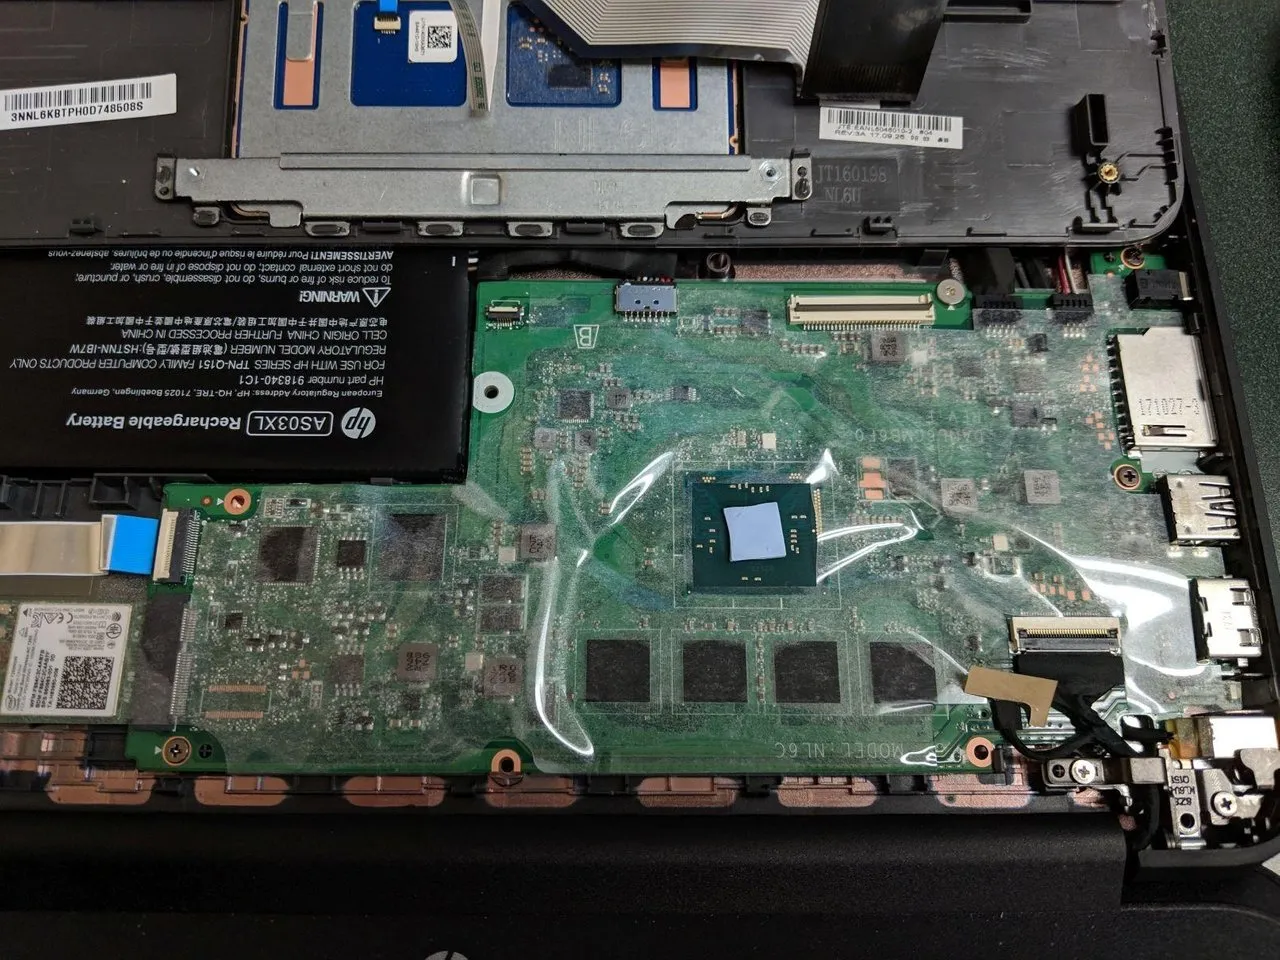
I've been taking apart computers for a long time now, but I have to admit, I was pretty freaked out the first time I took apart a laptop. Everything is so compact and the motto "a place for everything and everything in it's place" definitely holds true.
There was a huge fear about whether or not things would go back together correctly or if it would still work after I put it back together. I am here to tell you, it isn't as bad as it seems and once you get past that initial fear, you can practically do this in your sleep.

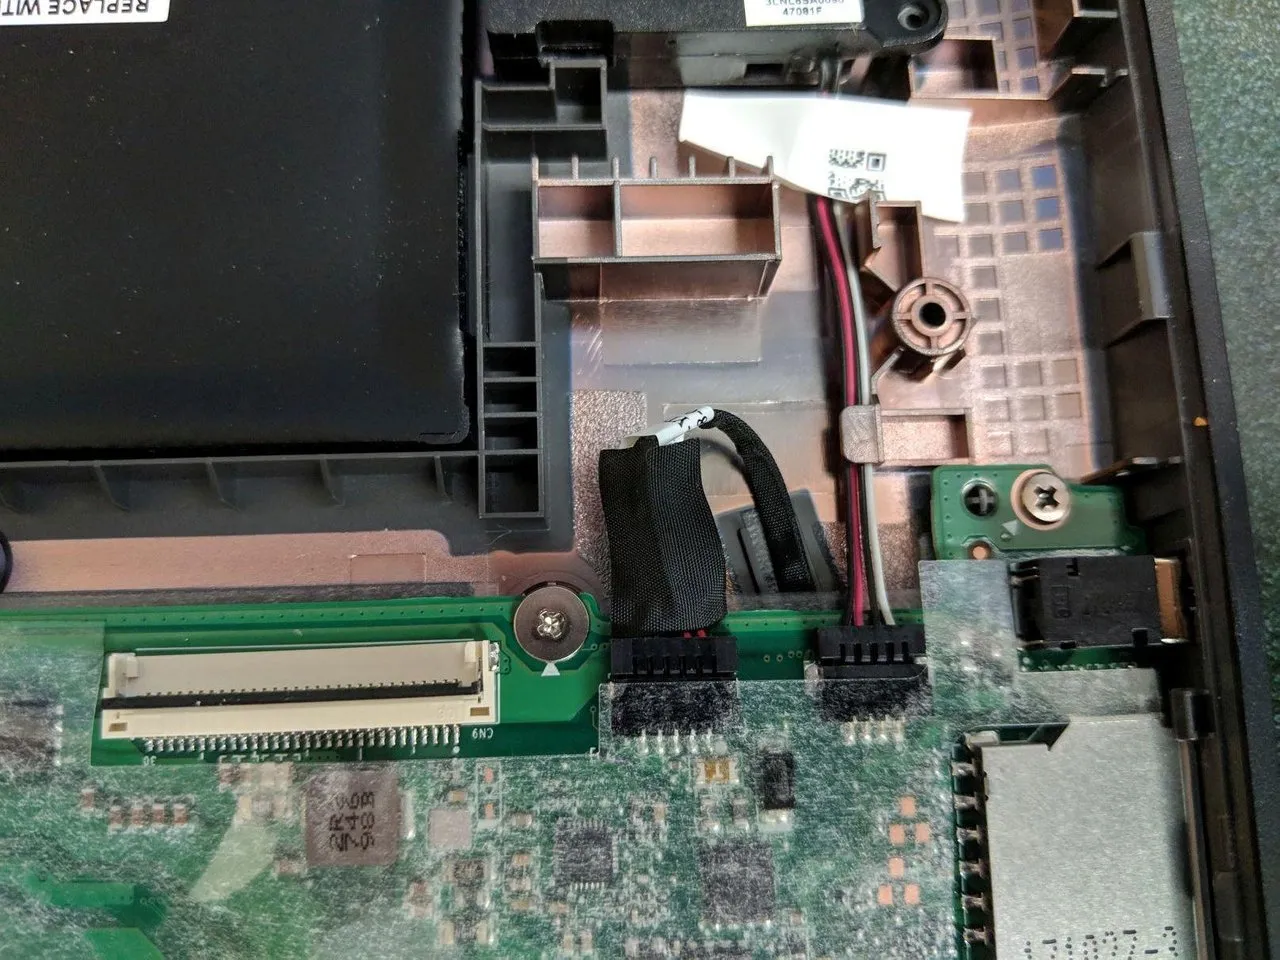
What I wasn't expecting was the fact that the cord ran under the motherboard between the case and where it connects to the motherboard. I showed the two ends with the green circles above. That meant I needed to remove the whole motherboard to run the new cable.
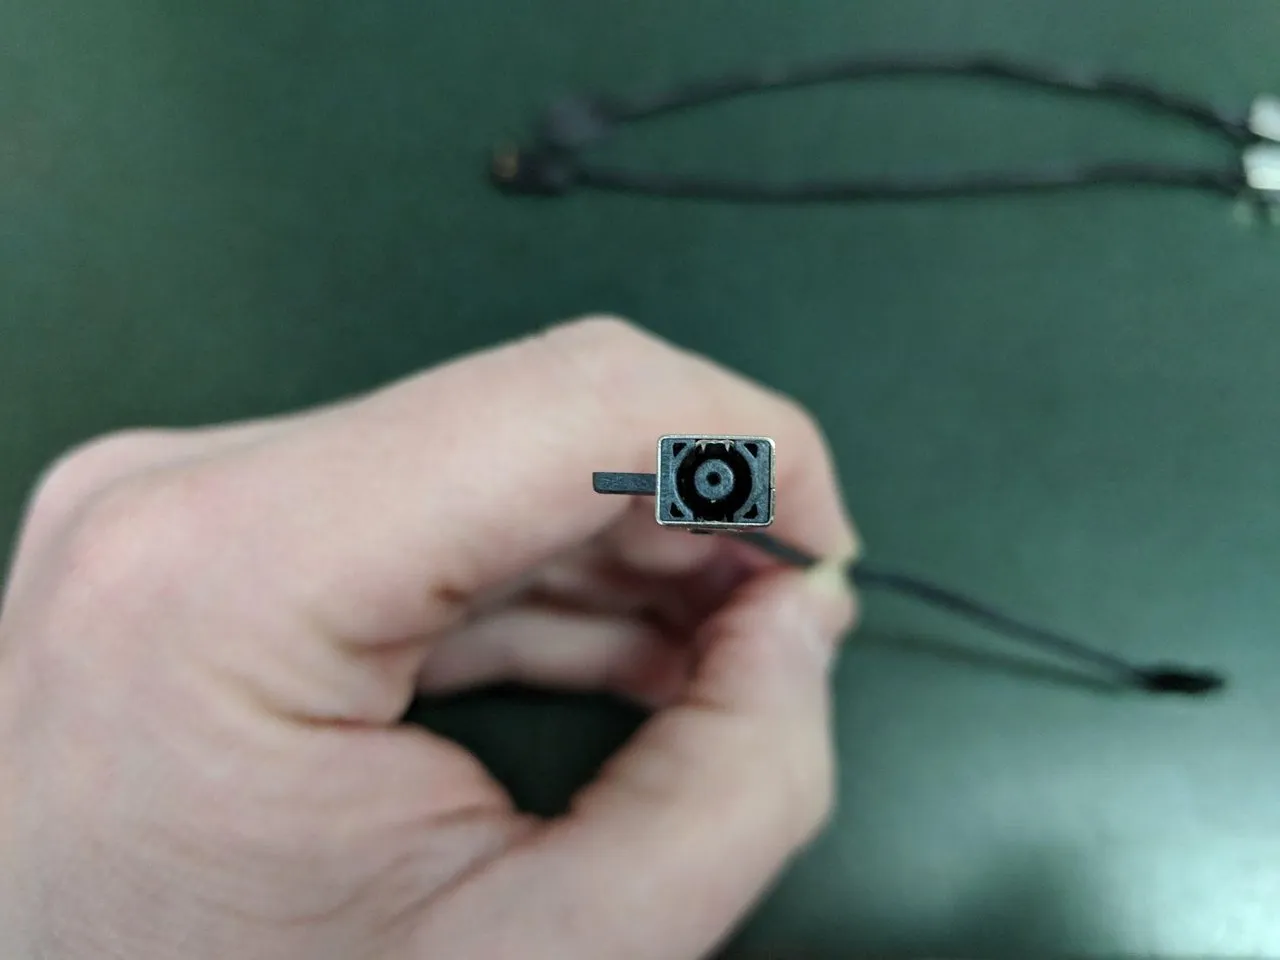
Before I get to that though, here is a closer look at each end of the cable.
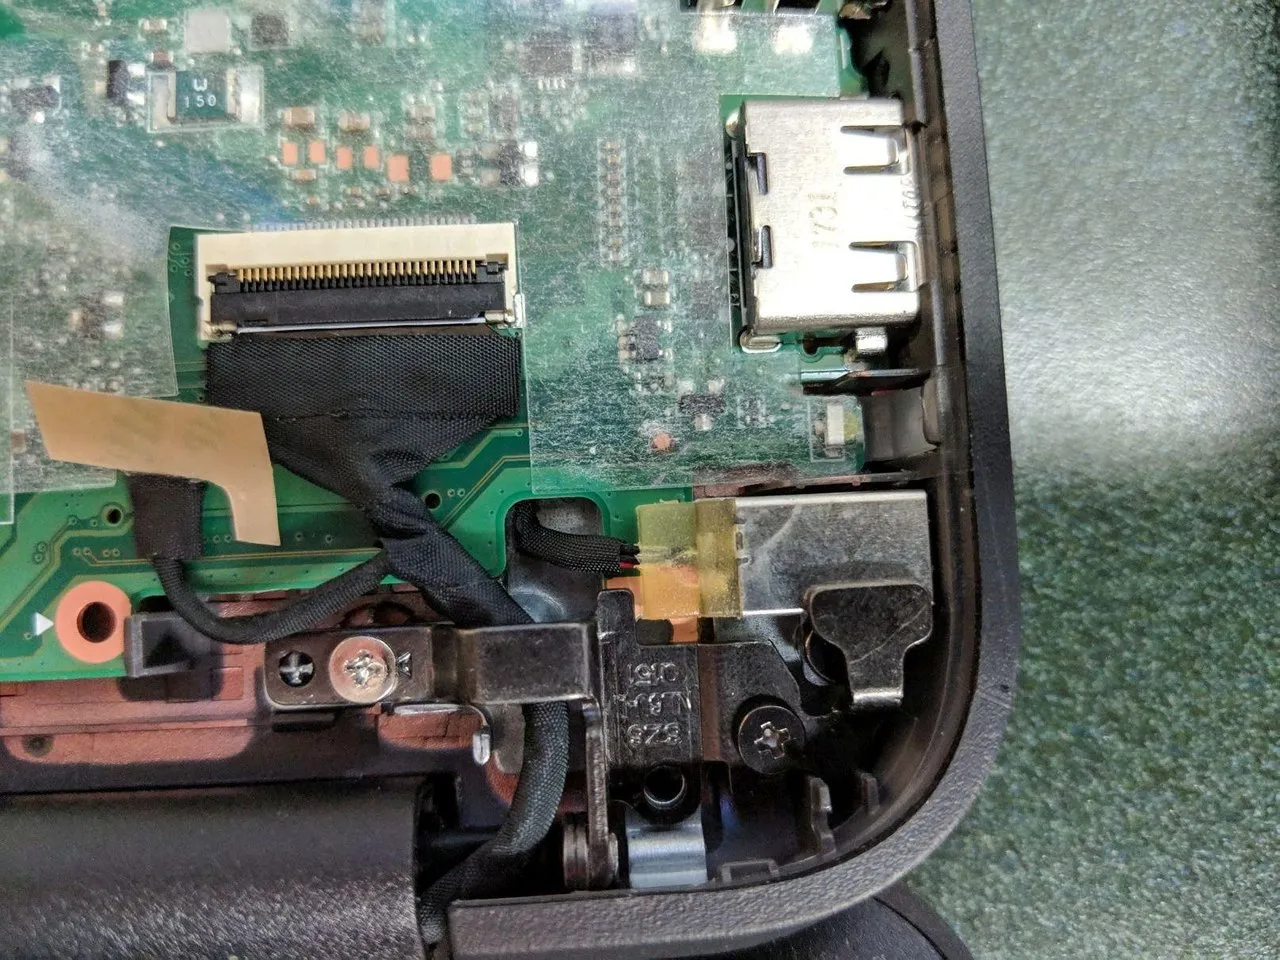
So I removed all the screws that were holding the motherboard down as well as the other cables connected to it and I carefully moved it out of the way.
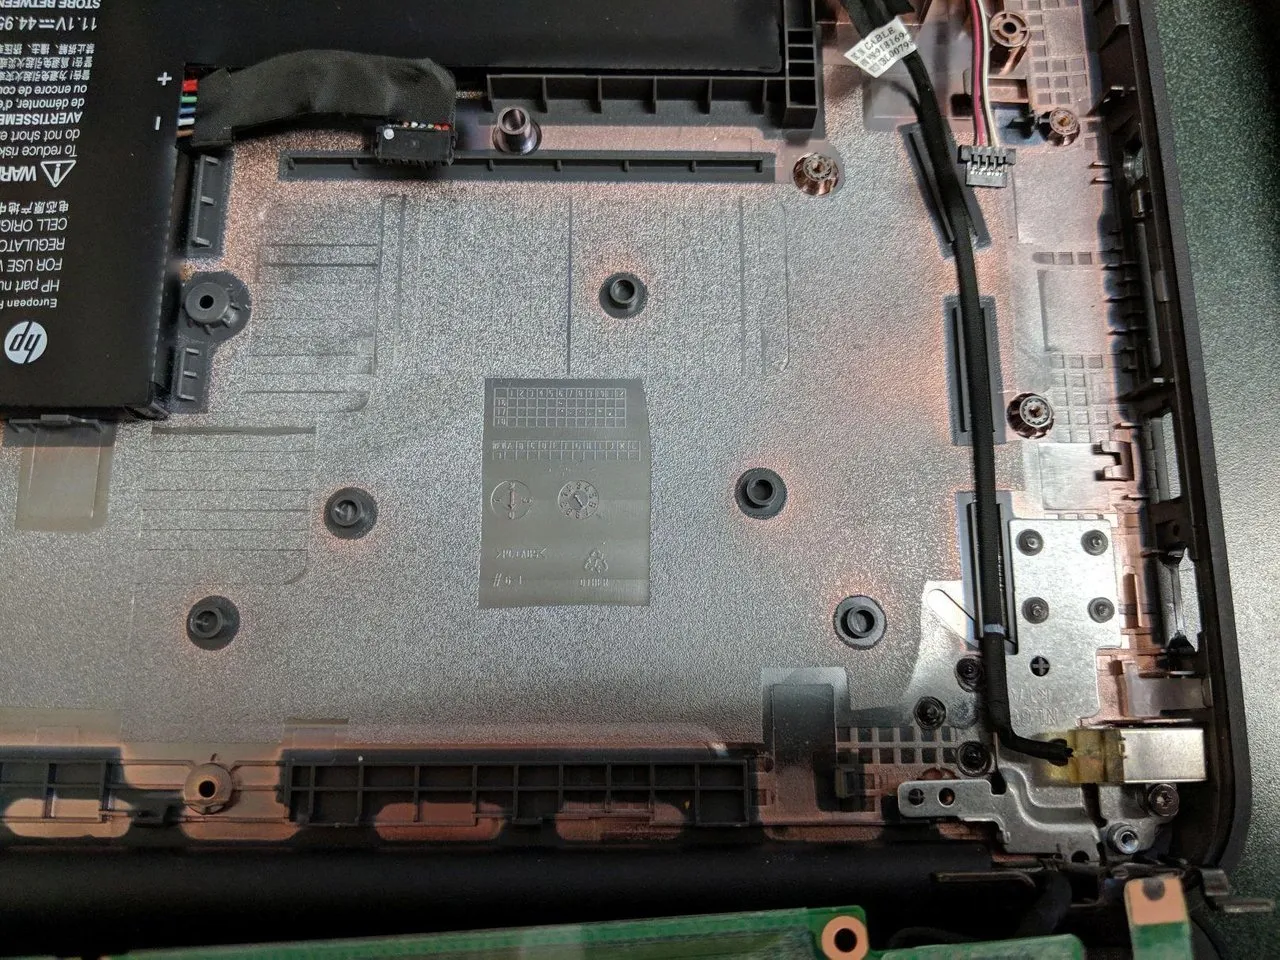
With the motherboard out of the way, I could easily get to the power cord and swap it out for the new part. Once the new part was installed, I put everything back together.
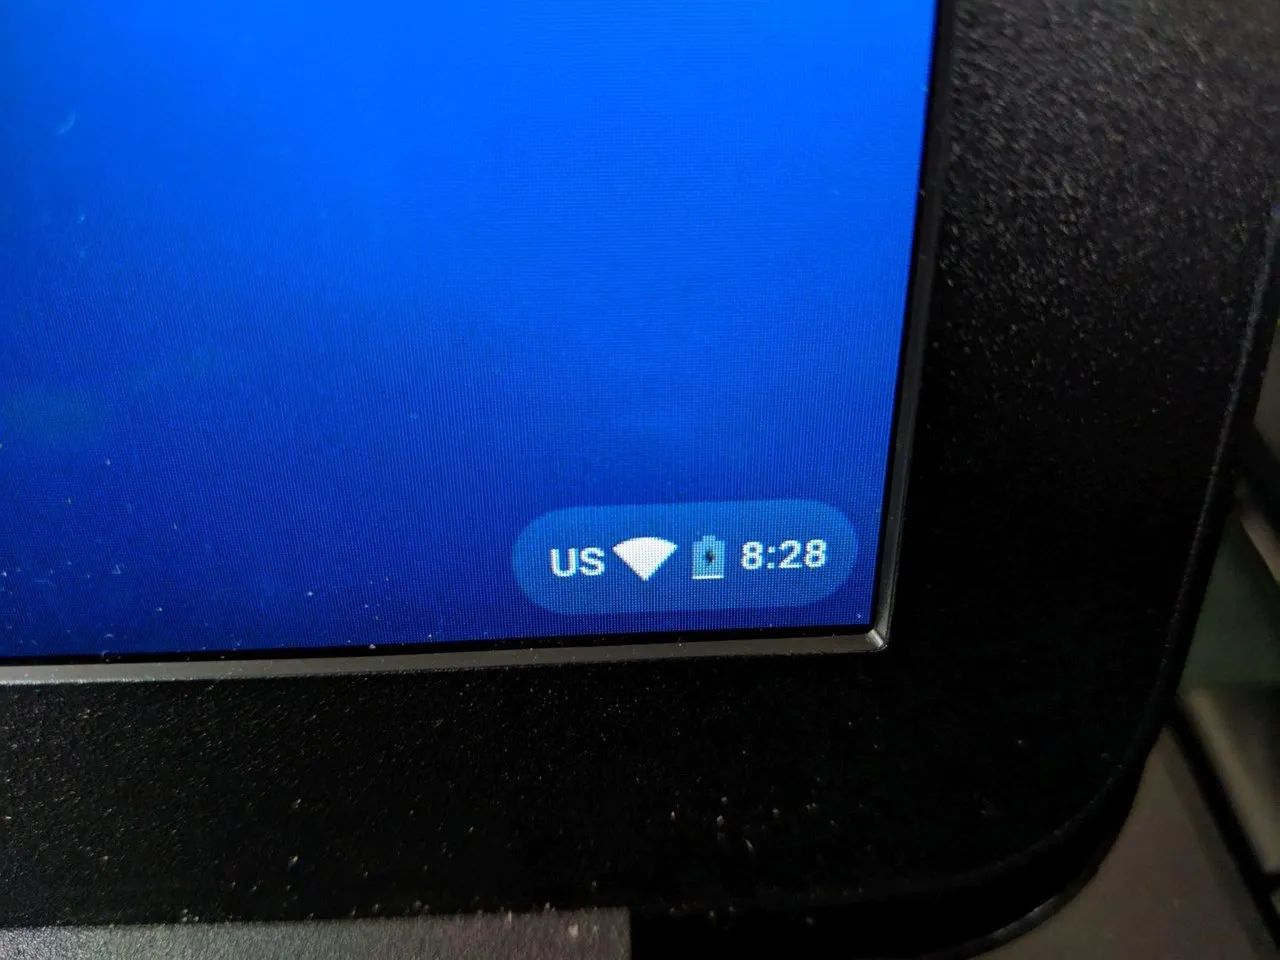
With all of the parts back in place and all of the screws screwed in, I connected it to power and turned it on to see if the jack was working. Sure enough, it was taking a charge and after a couple of hours being plugged in, it would be good to go.
Here is a picture of what it looked like from the outside after I finished replacing the jack. Not a bad job if I do say so myself...
Thanks for reading along. Stay tuned for the next post in this series when I replace the touchpad on a Dell 11" Chromebook. Hopefully soon one of the kids will break a screen and I can show you that process as well. Oh wait, I probably shouldn't hope for that...