
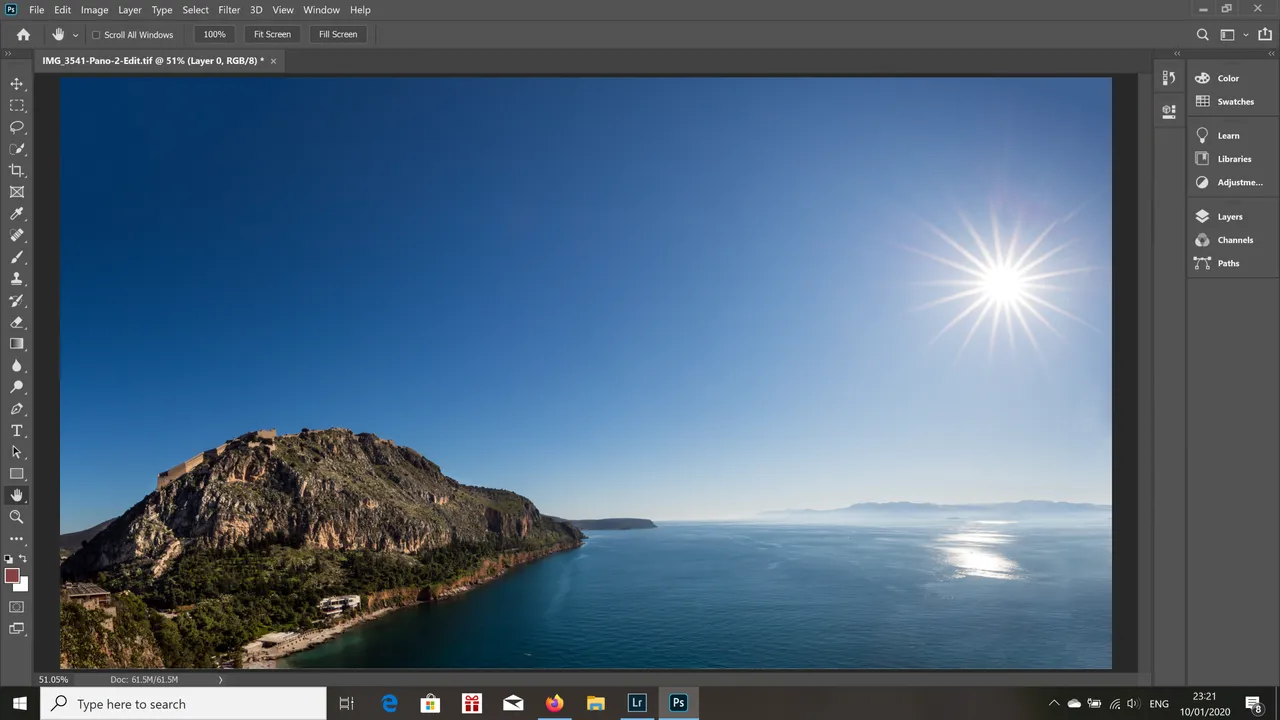
Do you like this shot?
I hope you do, because I spent a lot of time to get this result! If you are interested to know how I did it, keep reading. With the excuse of the 4th edition of the Behind The Photo contest I'll tell you all about it!
But let me start at the beginning.
First of all I have to tell you that I am not a professional landscape photographer and although I used to make my living as a photographer a lot of years ago, the digital era is an unknown field that I have only recently started to decode.
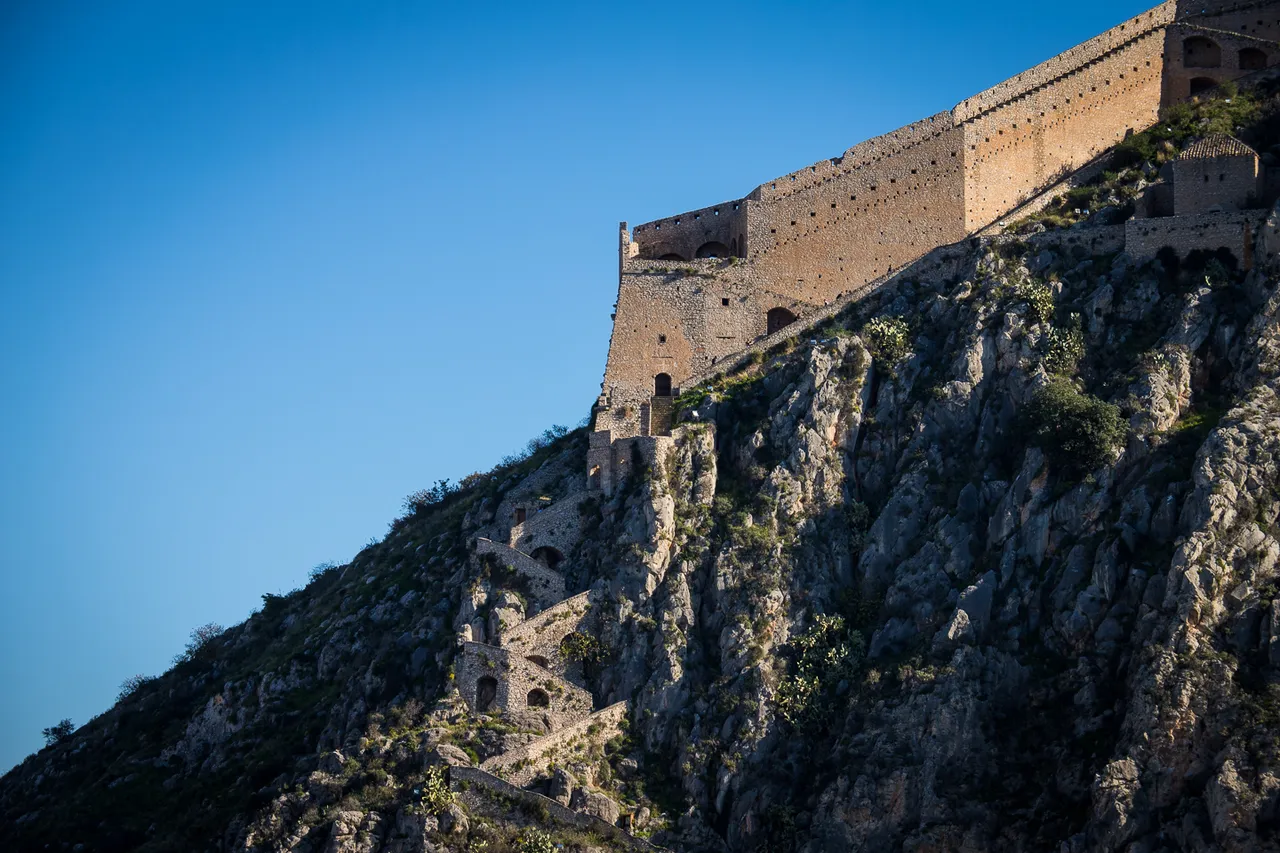
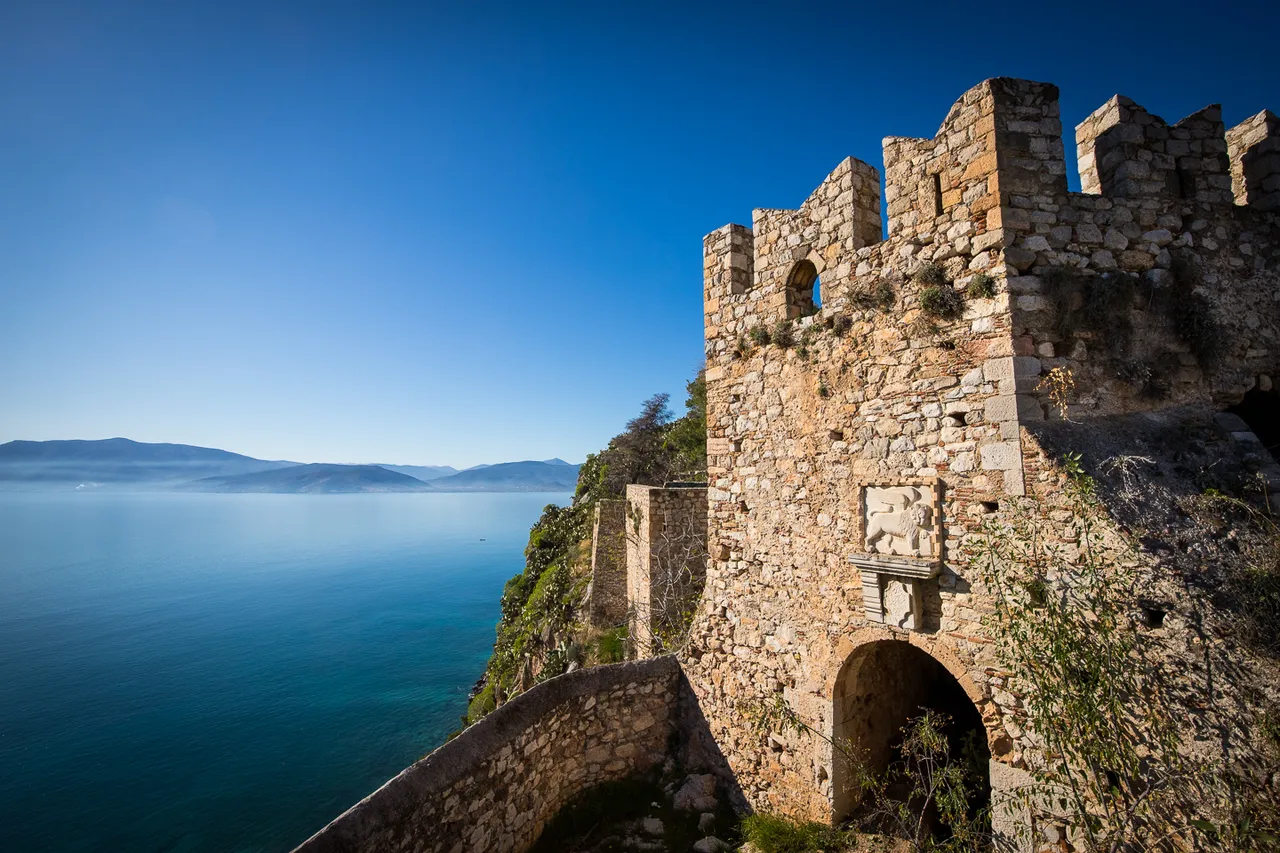
With that said, last Saturday was a glorious sunny day and I was at the beautiful scenic town of Nafplion. And as I often do when I am on vacations, I decided to spend the day taking pictures. Around noon I found myself in front of the fortress of Palamidi. The sea of the Argolic Gulf was totally calm, the hill on which the fortress is located, was nicely lit and I was sure that I was going to easily take an amazing shot.
Unfortunately not!
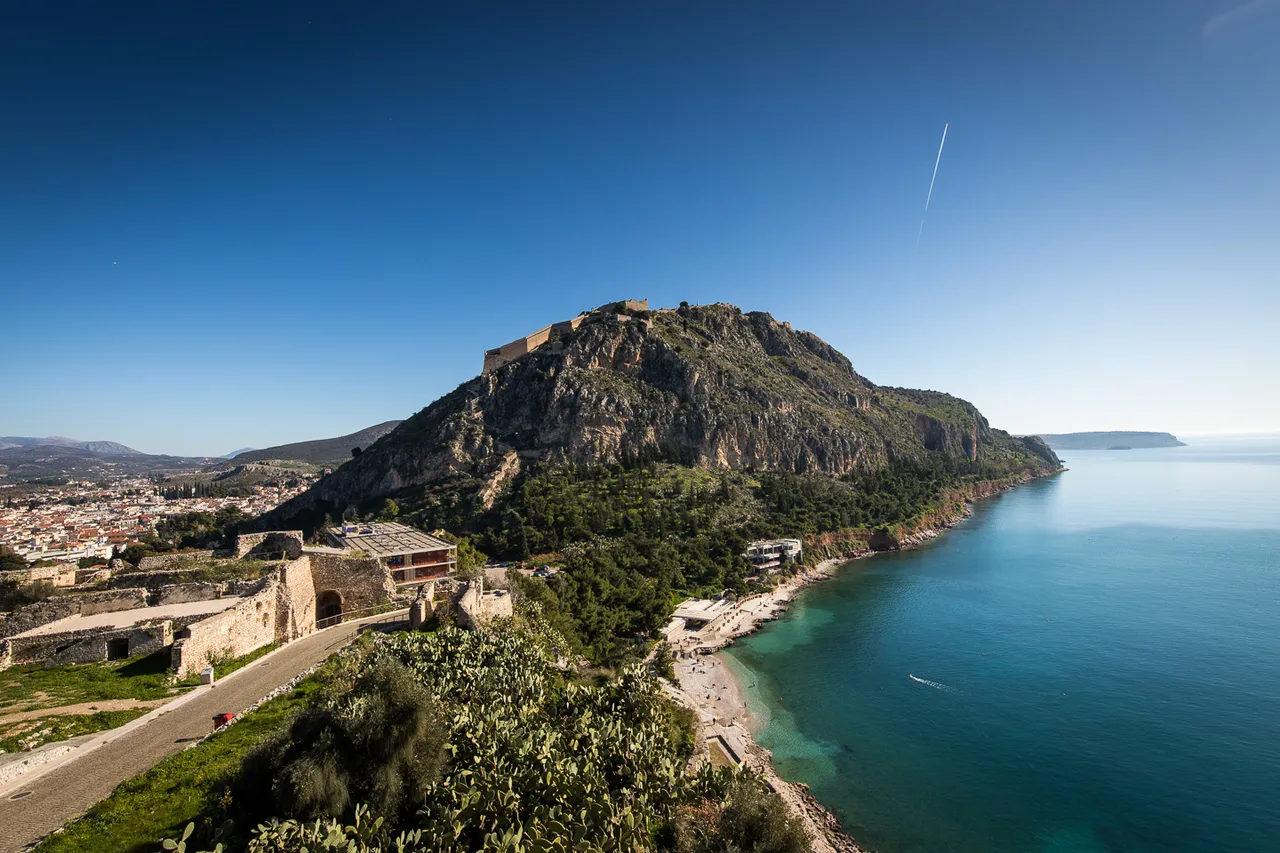
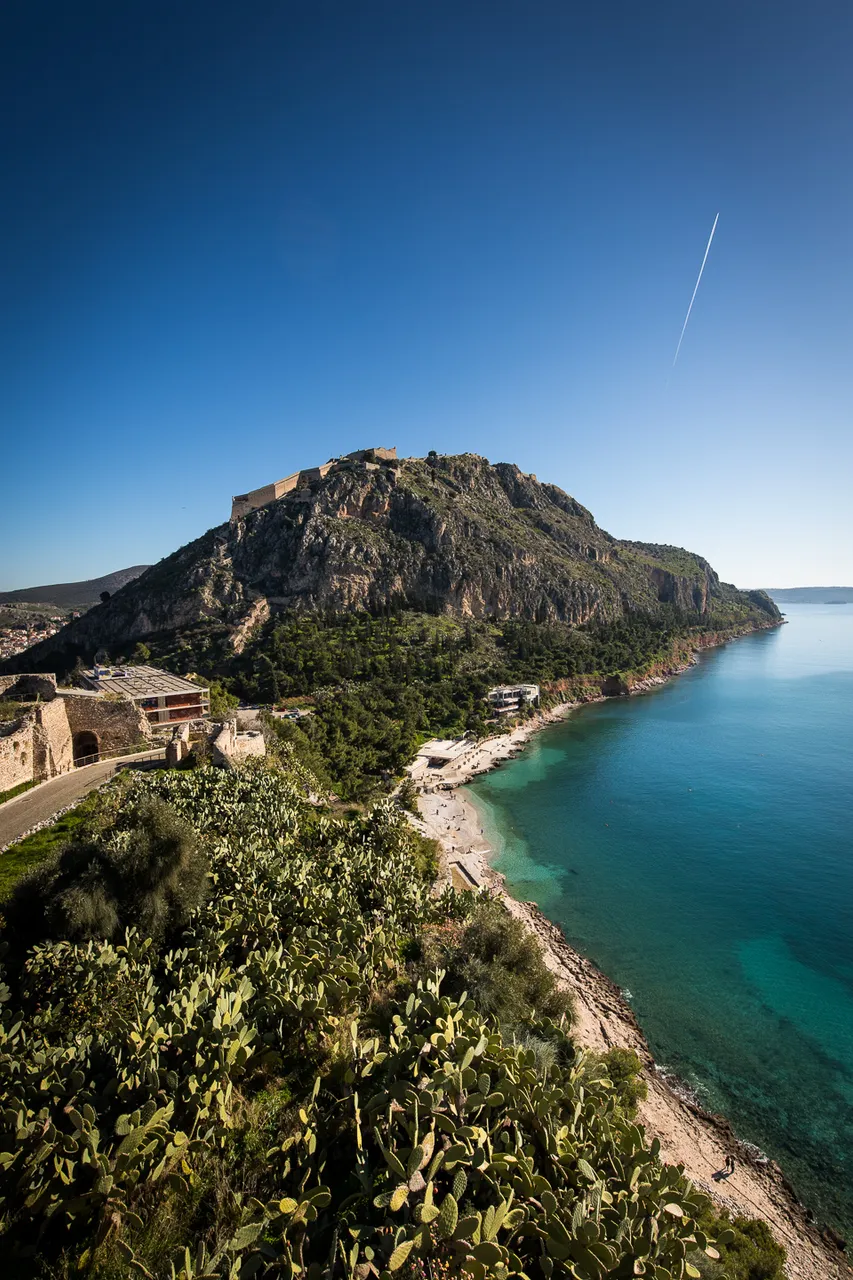
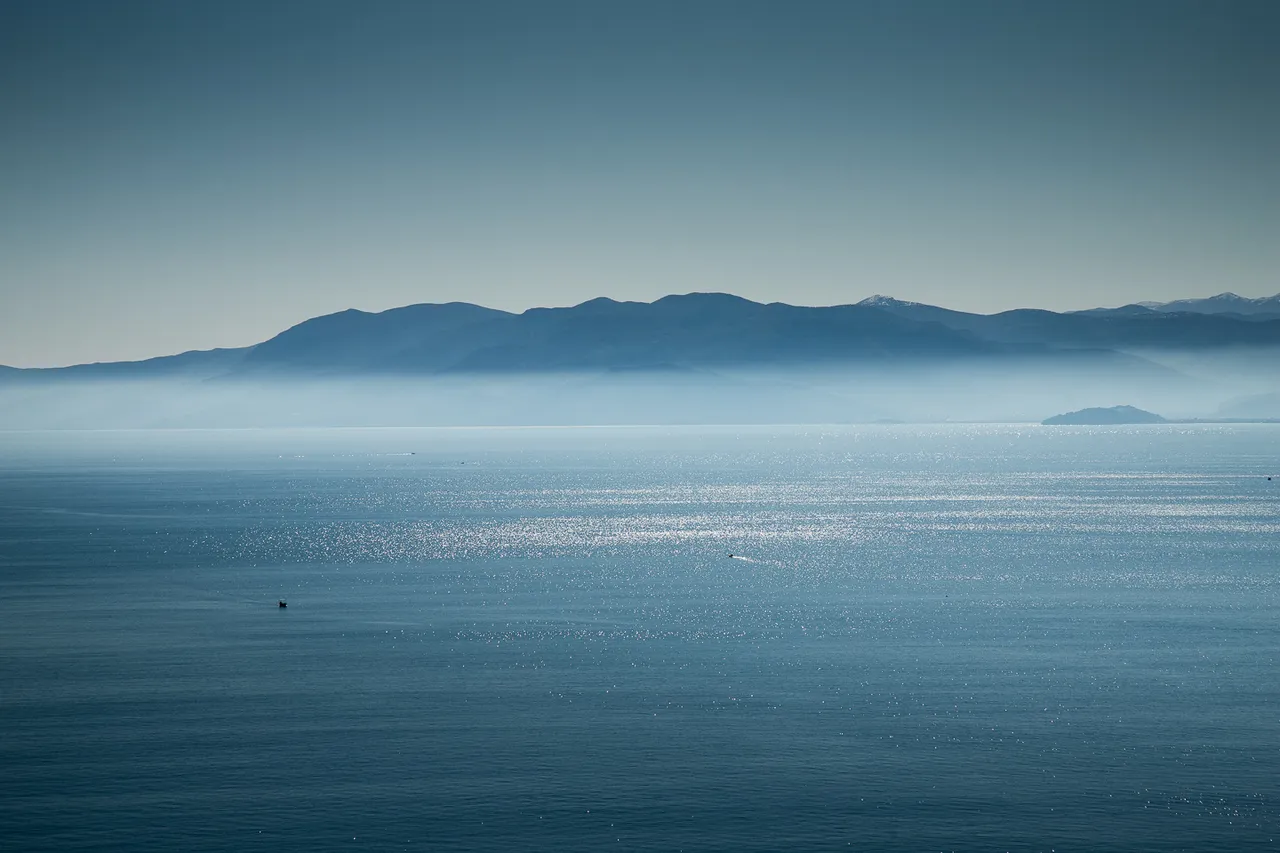
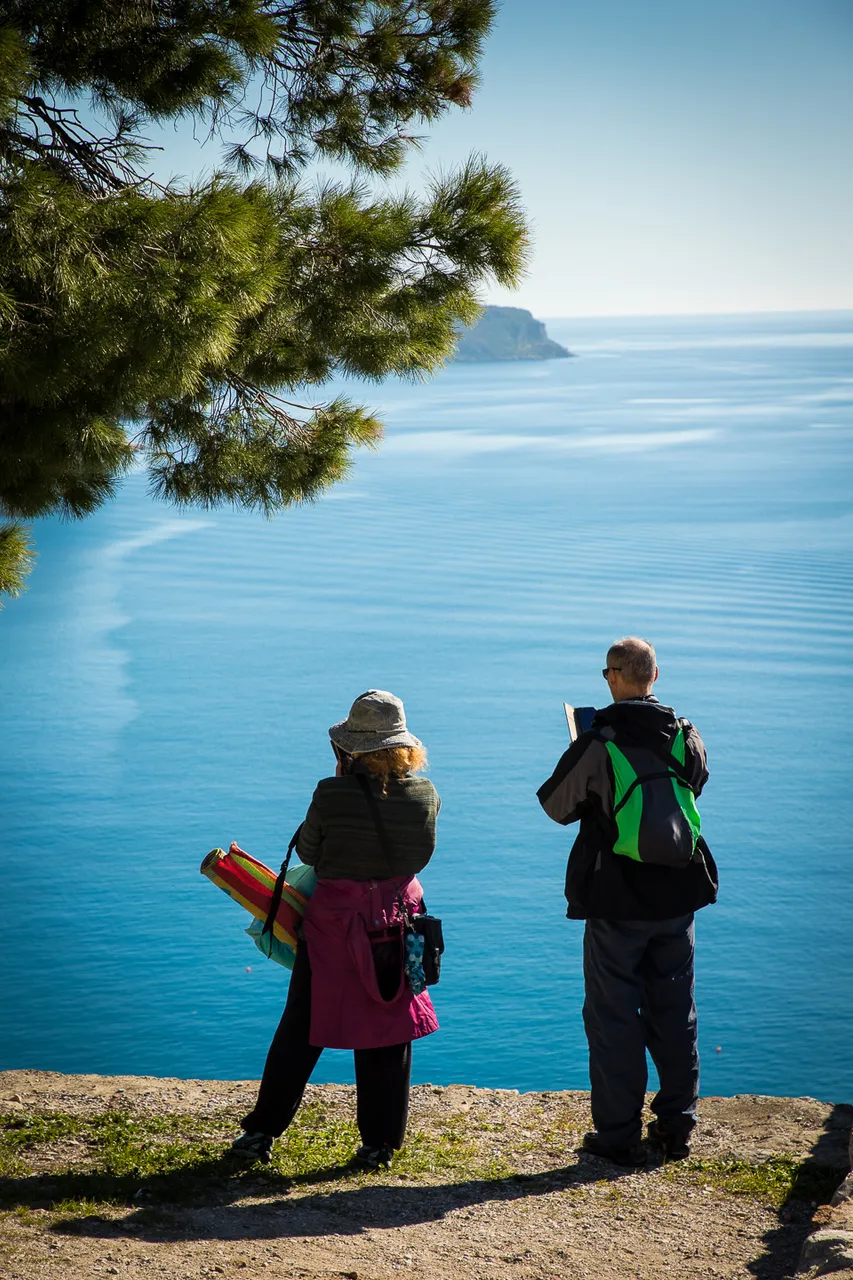
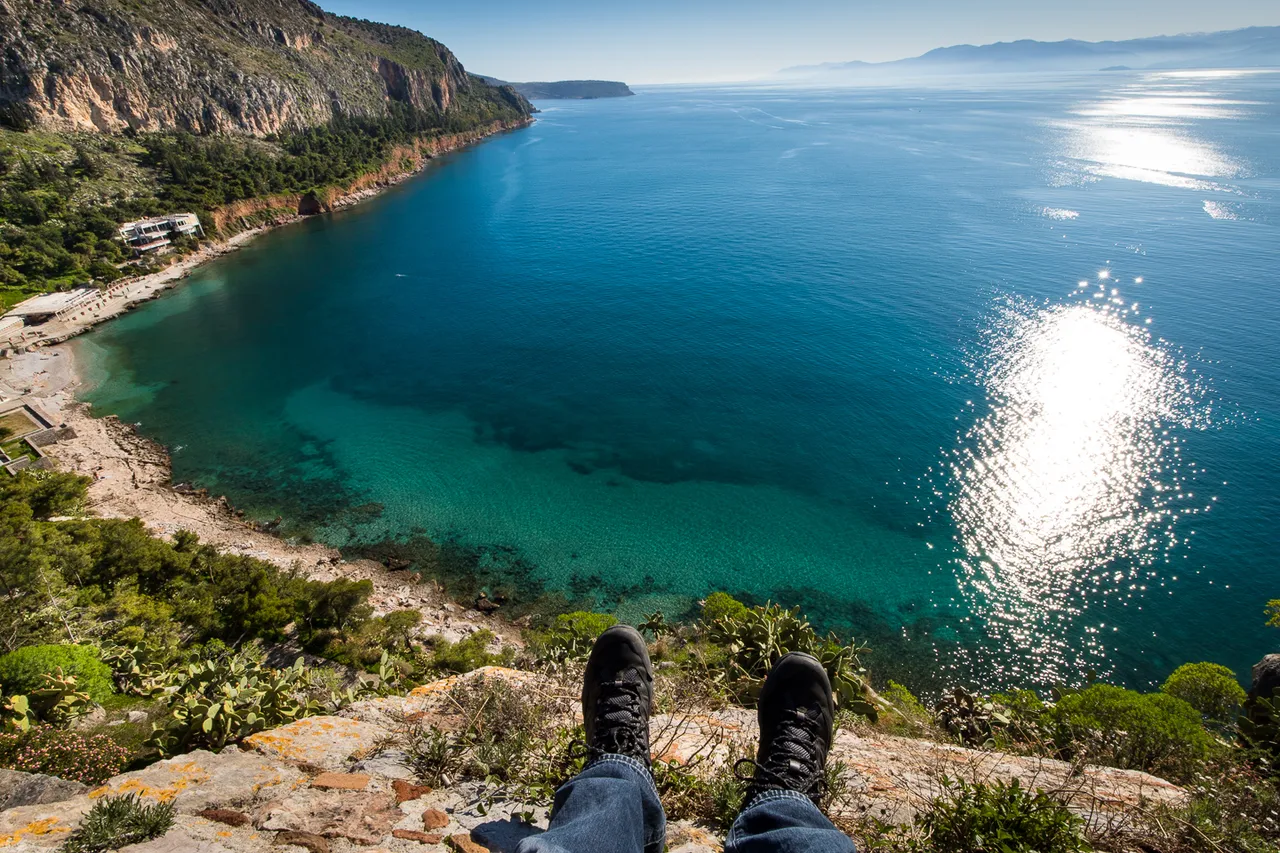
I had with me my full frame canon 6D markII and I attached on it my canon 16-35 wide angle zoom lens. I started with something like the pictures above, which are ok, but I wasn't pleased with what I saw on my camera's screen. So I kept shooting and shooting and shooting for about an hour. I guess an experienced photographer would have finished in a few minutes but, what can I say, I took the long way :)
15 minutes later I realized that I was taking the same picture over and over again without improving something. The view I had was beautiful but I just couldn't picture it right. So I turned my camera to the sea and to the sun and then, it hit me! That's what was missing from my shot.
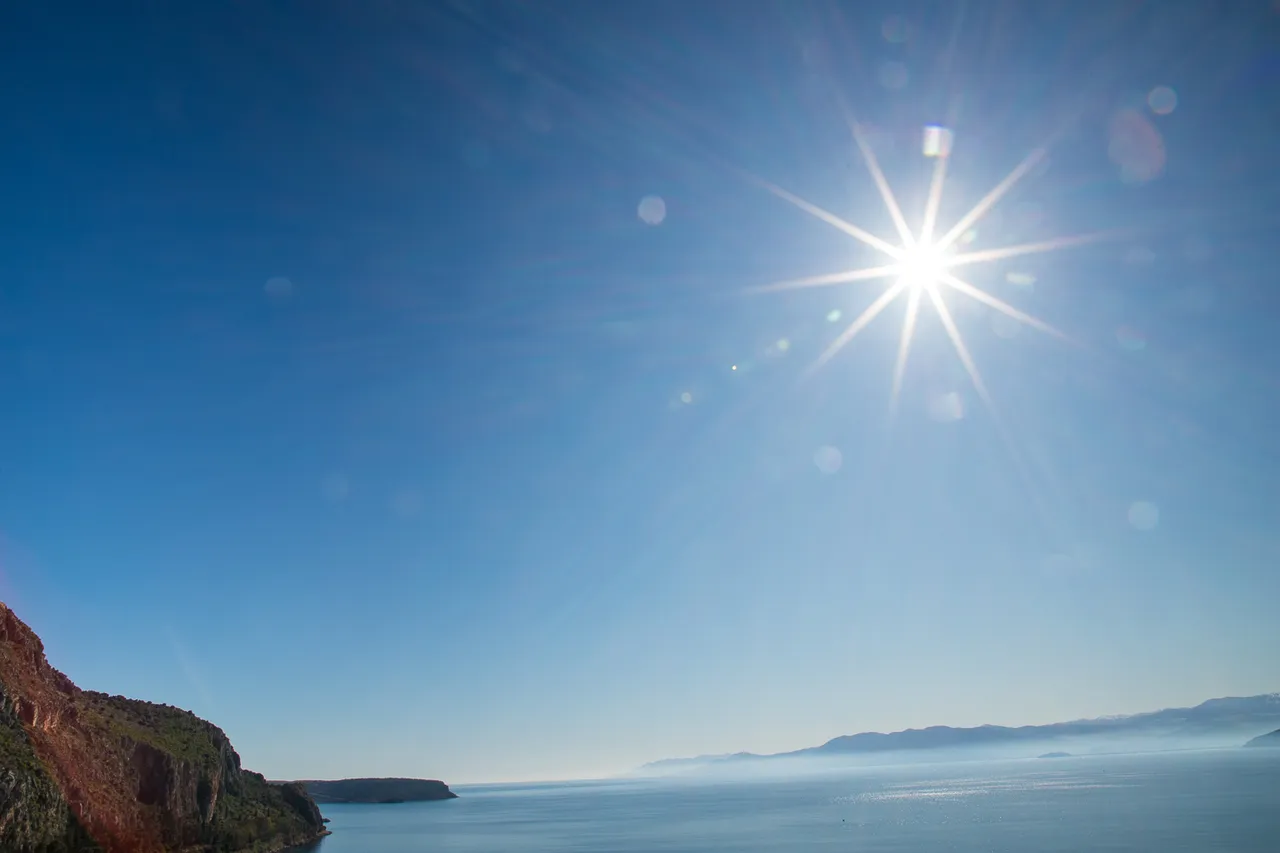
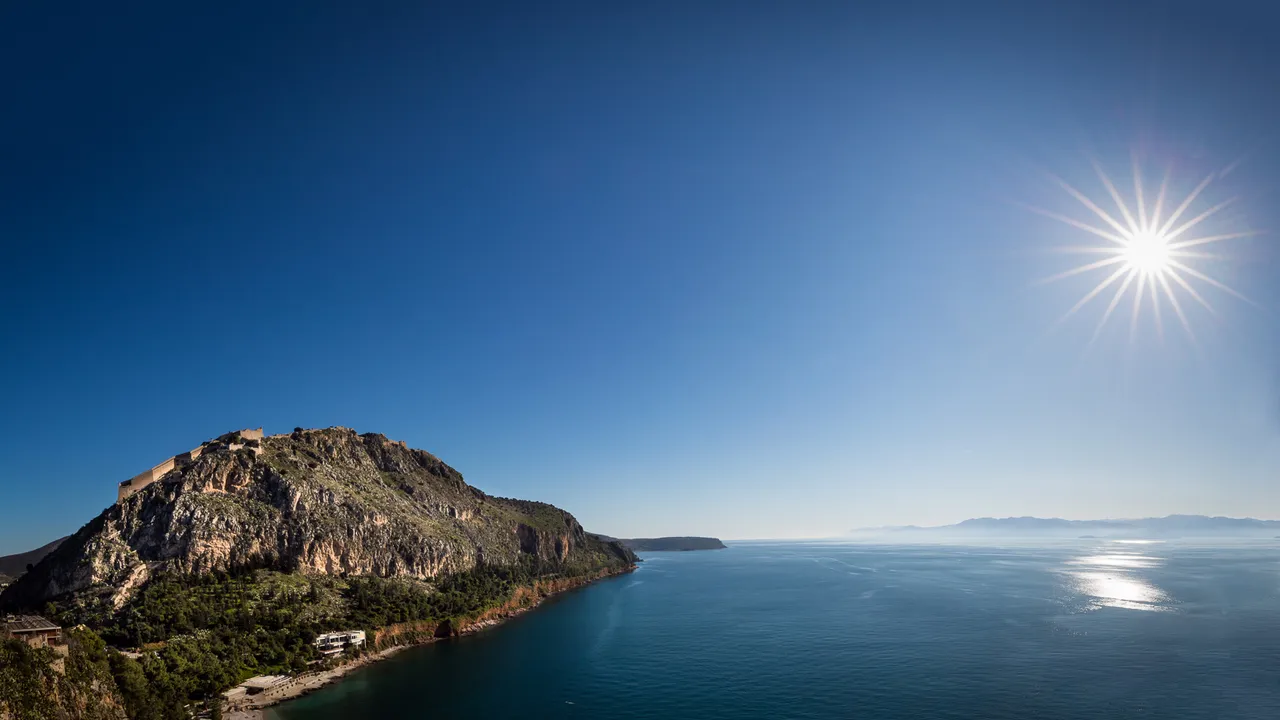
As I was looking of the sun I remembered some pretty cool pictures of @scottshots with a star effect on the sun, like the picture above. At the time I didn't know how this is done so I asked him and Scott was kind enough to reply:
A small aperture is the #1 trick, those two sunbursts were both shot at f22. A wide angle lens also helps so the sun is a bit smaller in the frame. Lowering the "highlights" slider in Photoshop RAW or Lightroom helps define the star effect even a bit more.
During the summer the sun in Greece is way up in the sky but in winter it moves low all day long, so it was a perfect opportunity to try it out. So I ended up with this picture.
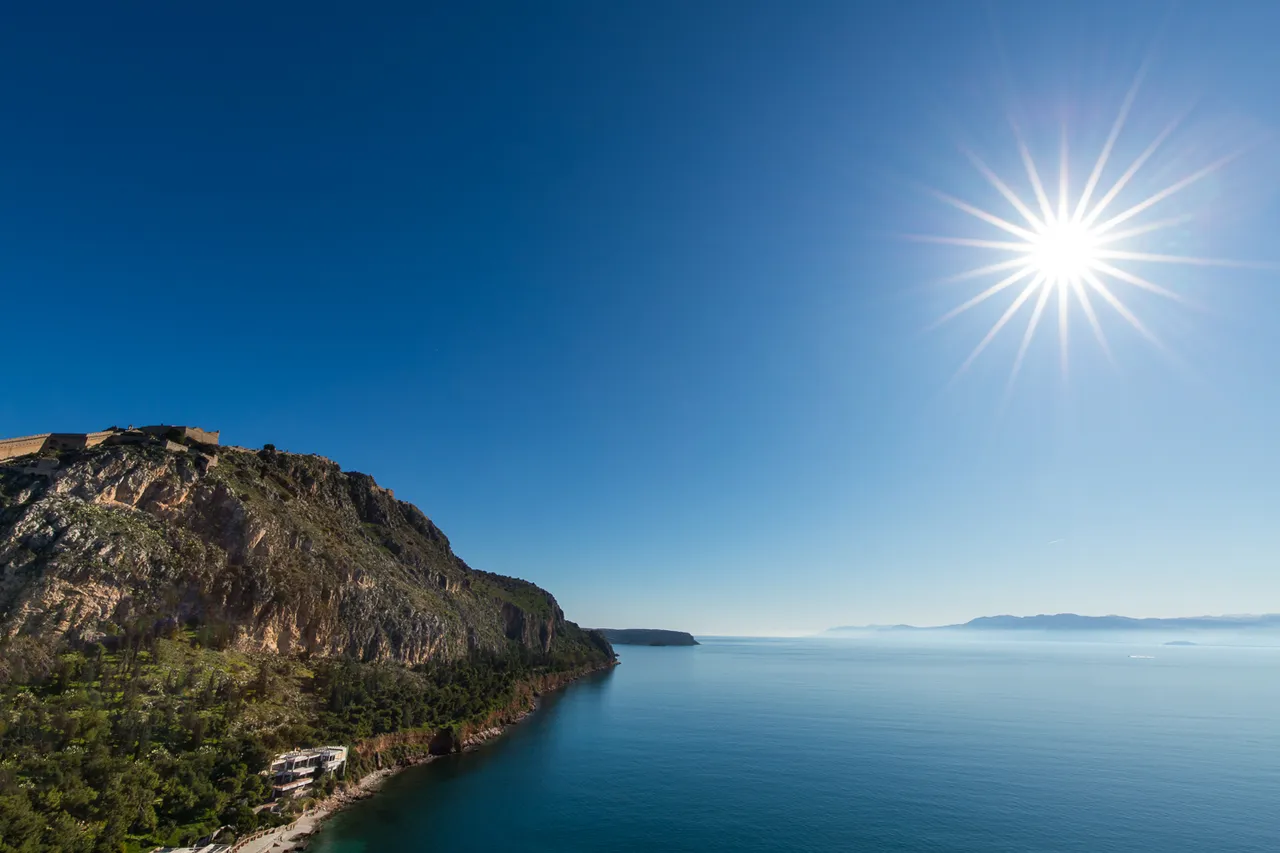
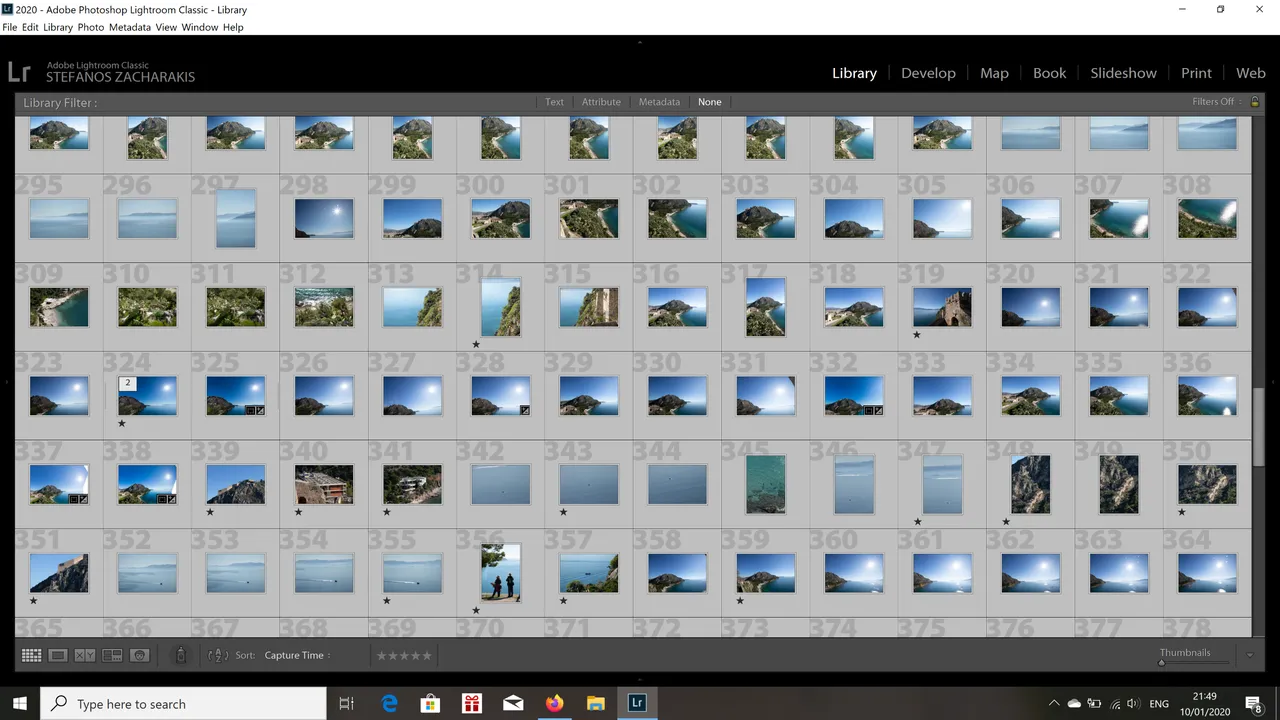
Again, quite nice but it didn't picture the greatness of the scenery. The 16mm lens is very wide but in this case it wasn't enough. So I thought to take a lot of pictures and stitch them together in a panorama. Lightroom has a great tool for that job but as I found out the hard way, during editing, you still have to be careful while shooting. Anyway, although I had taken dozens of shots there was only one group of 4 that could barely form a decent panorama.
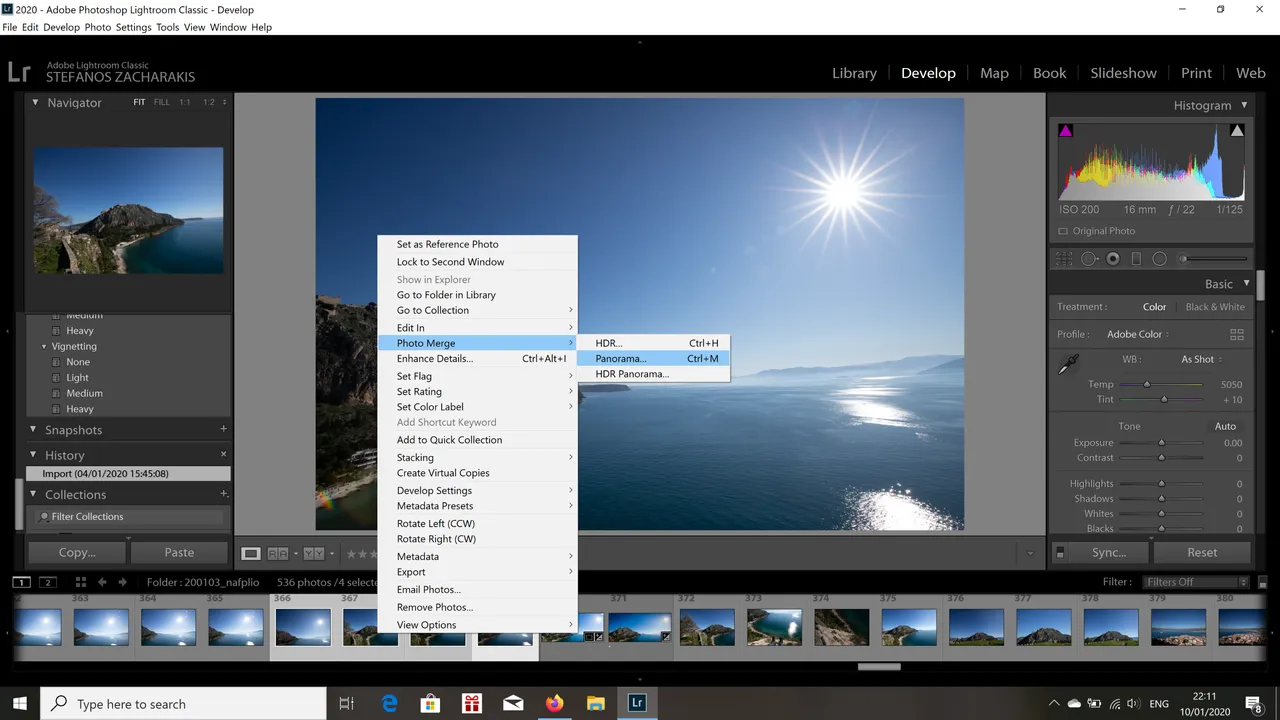
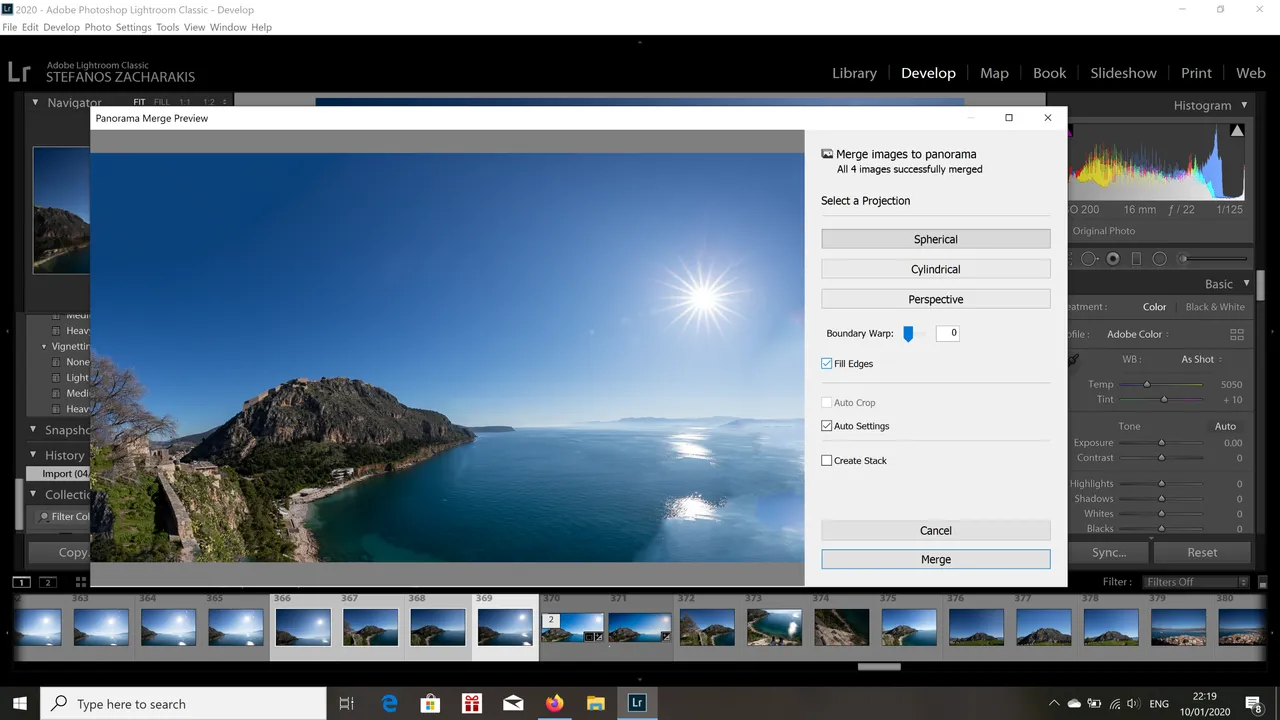
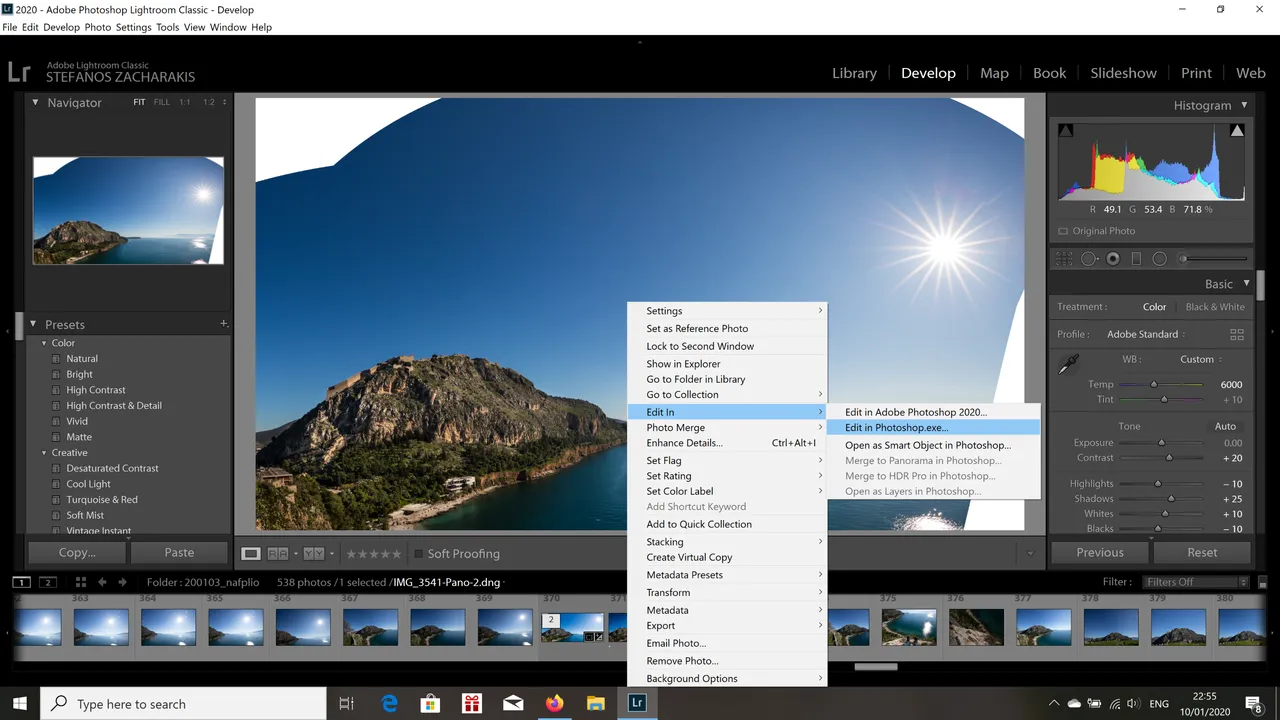
As you can see in the screenshot below, Lightroom does the job very well but if you don't give to it enough coverage you end up with an incomplete image.

There is the "Fill Edges" option but with so big gaps to fill, the result is very sloppy.
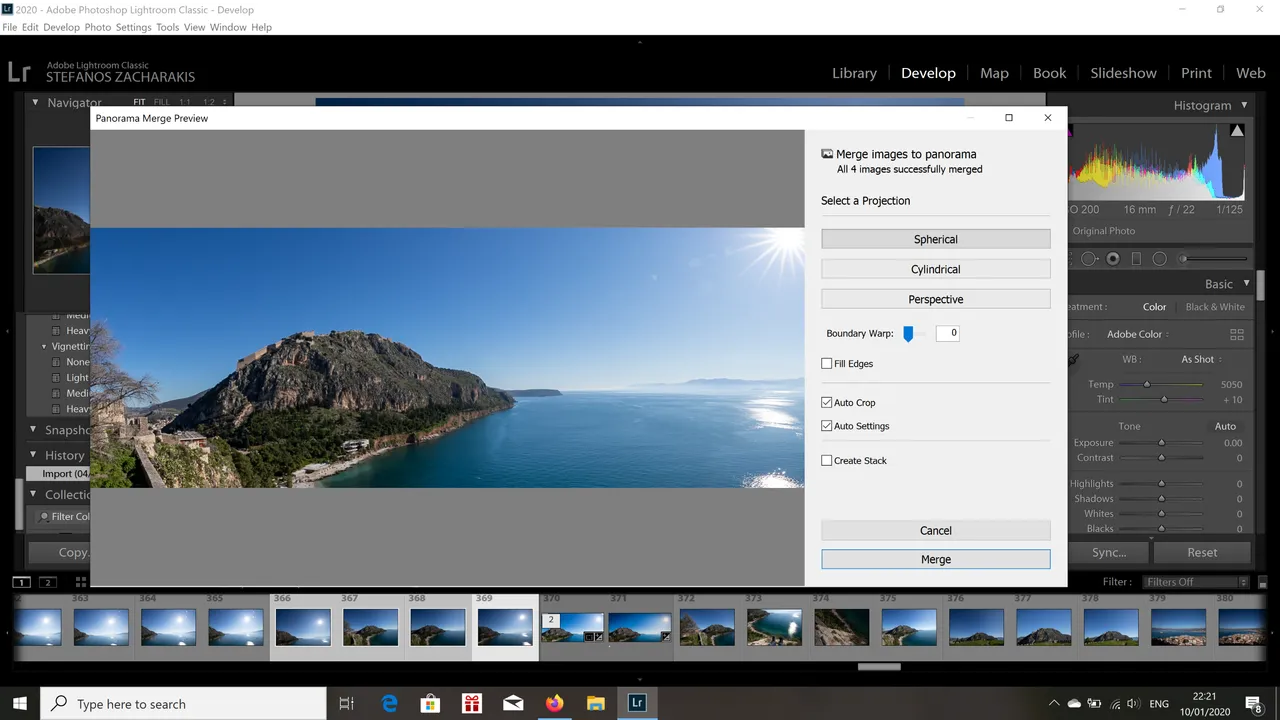
With the "Auto Crop" option I was losing half of the sun.
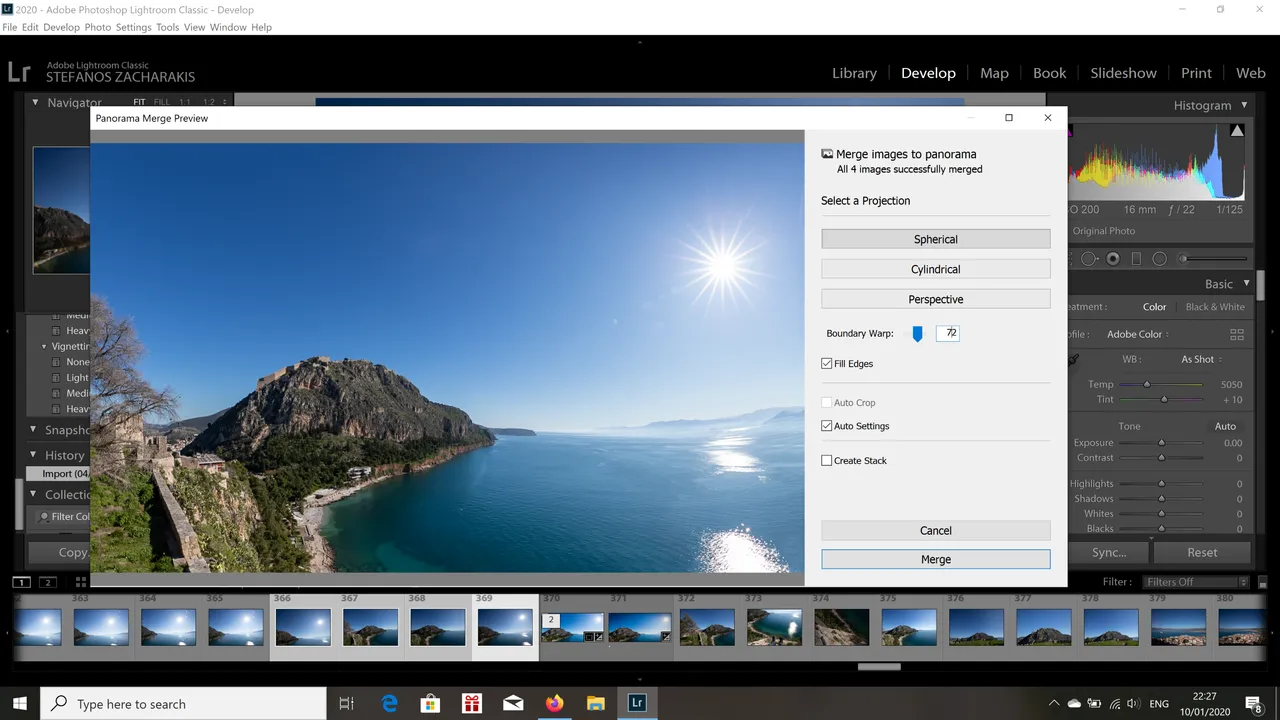
With a combination of "Boundary Wrap" and "Fill Edges" it looks ok but if you look carefully you can see the horizon bending and the hill distorted.
So I kept the original shape and tried another way of finishing the picture.

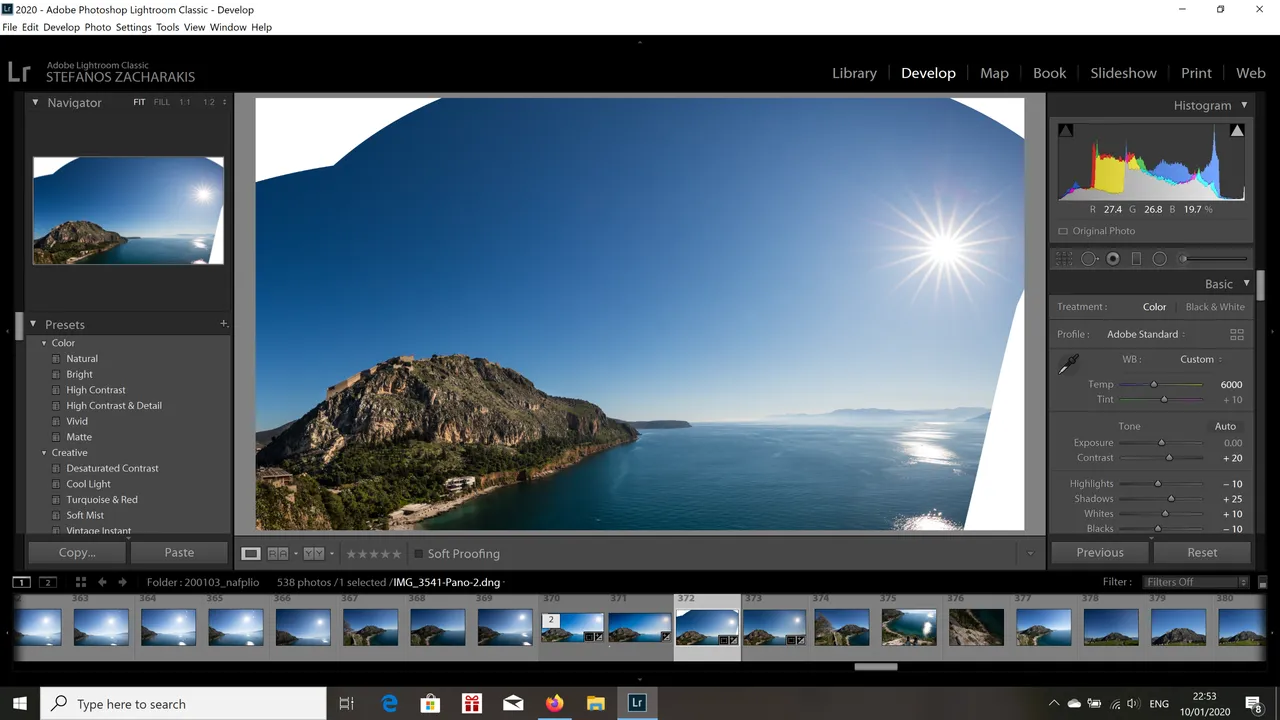
I cropped it a bit and I did all the basic corrections in Lightroom (color, shadows, highlights etc) and then I moved my file to Photoshop.
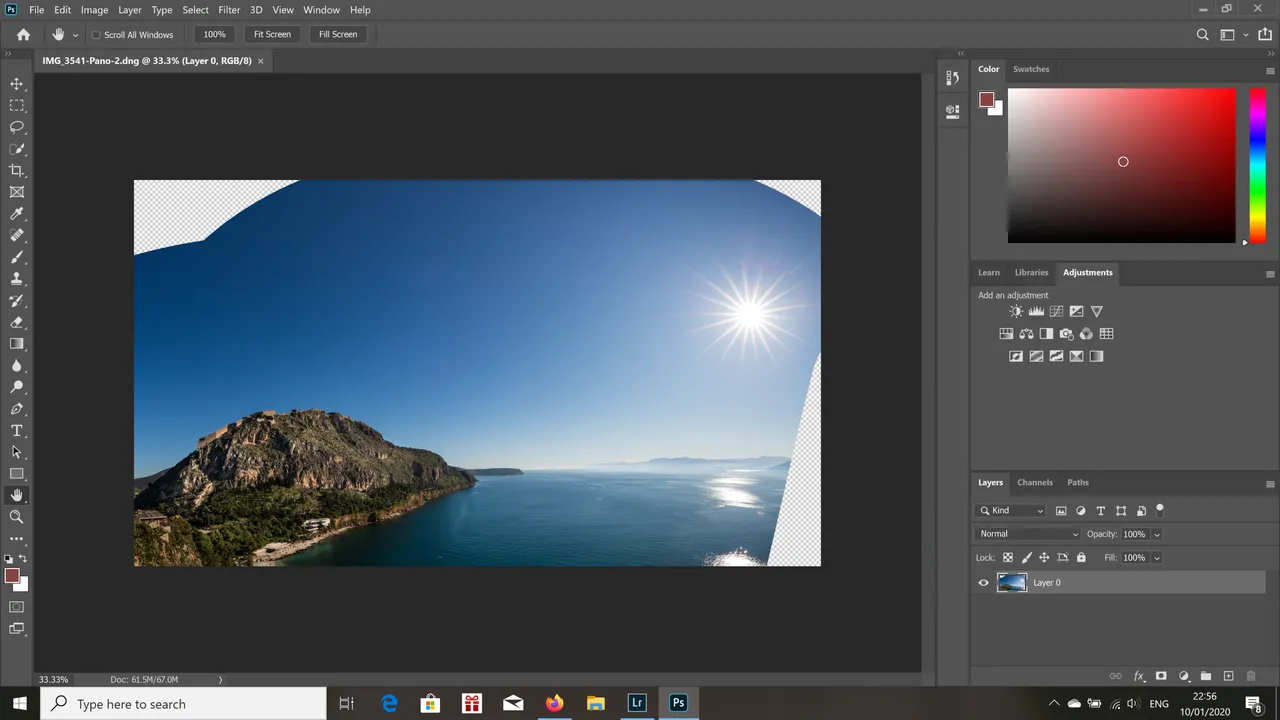
Where I manually filled the remaining gaps and this is it!
So what do you say. Did it worth all the trouble to pull it through?
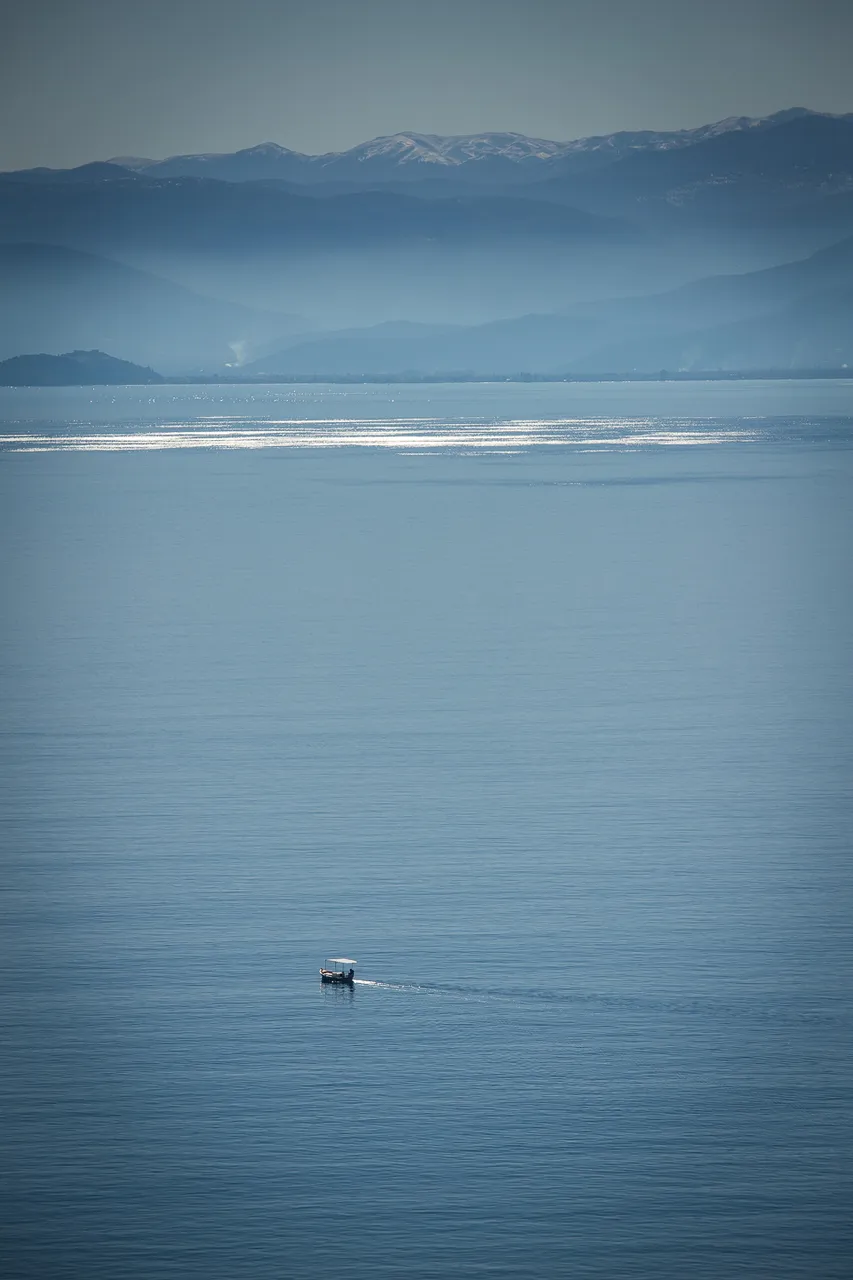
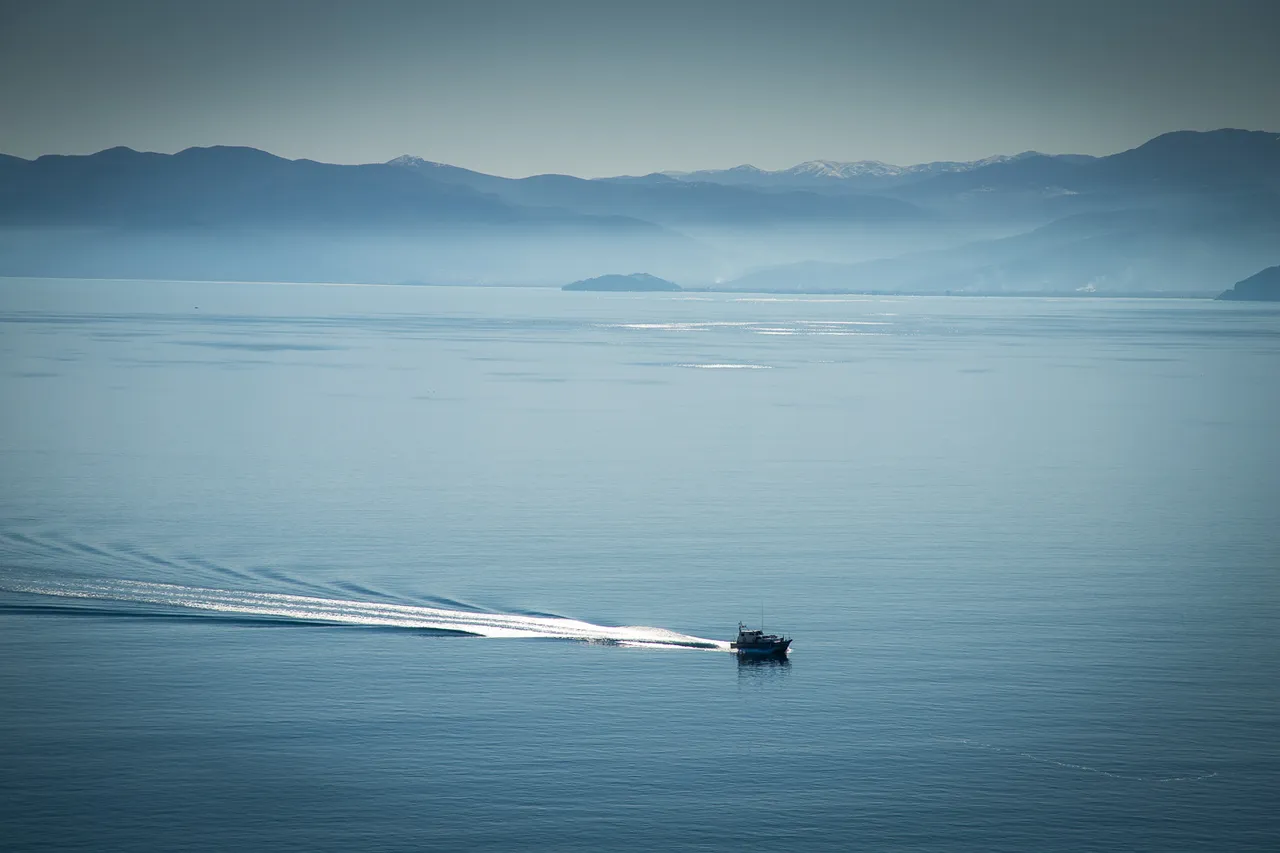
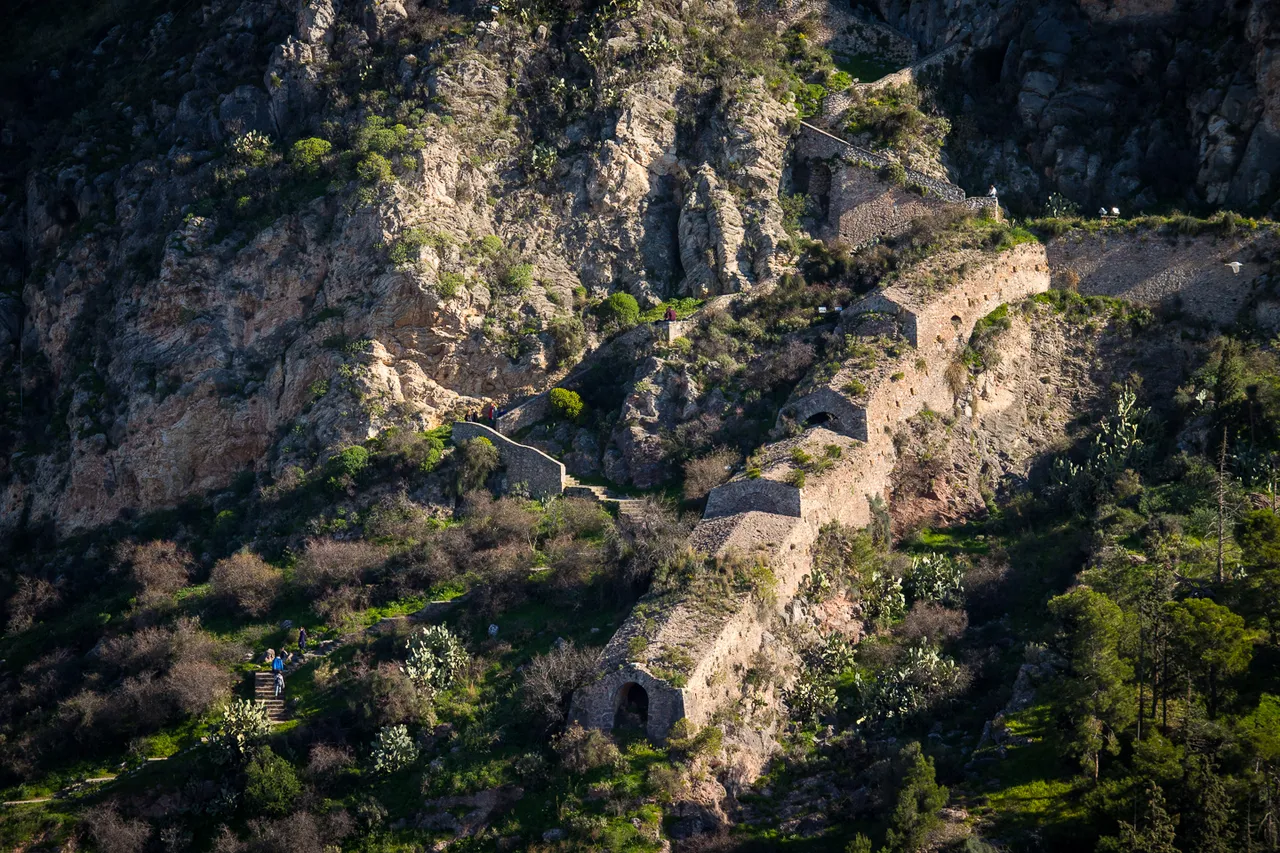
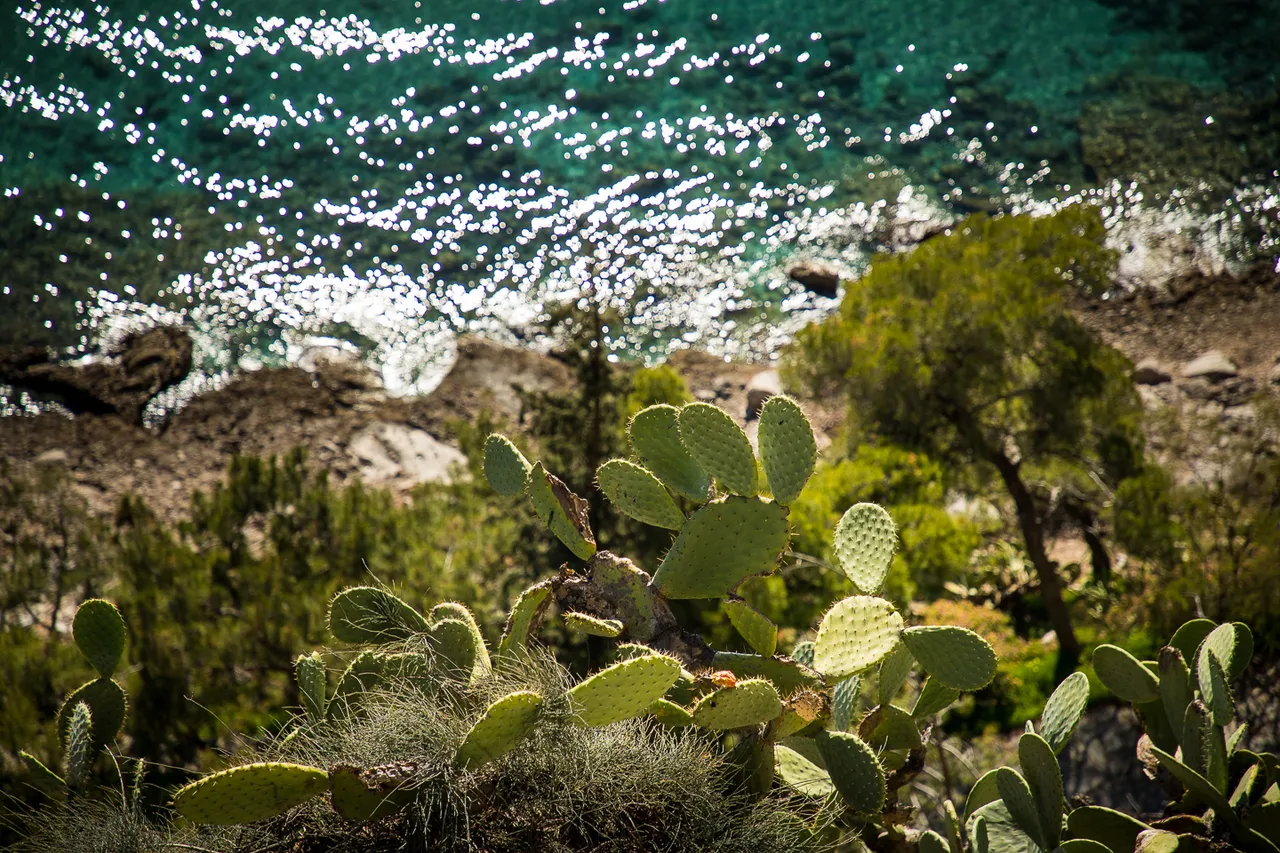
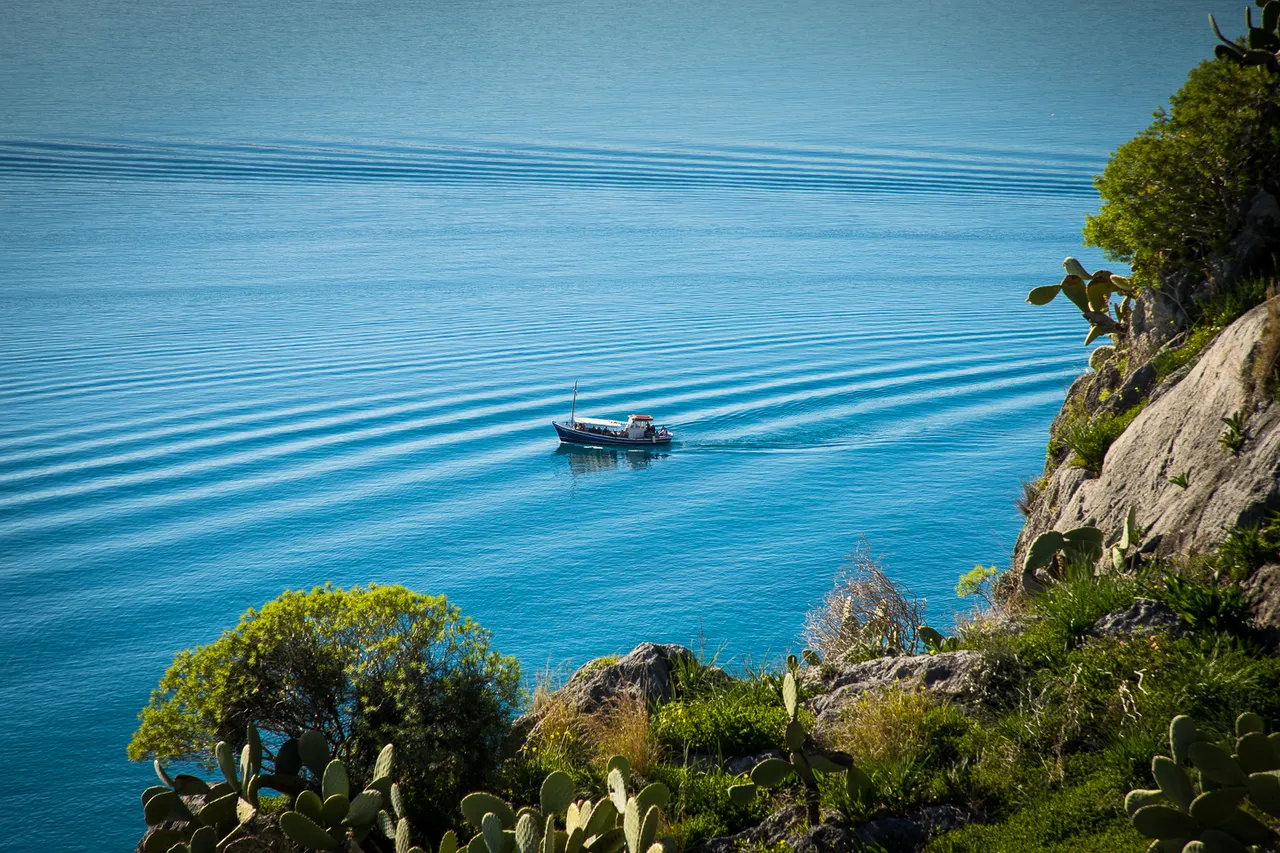
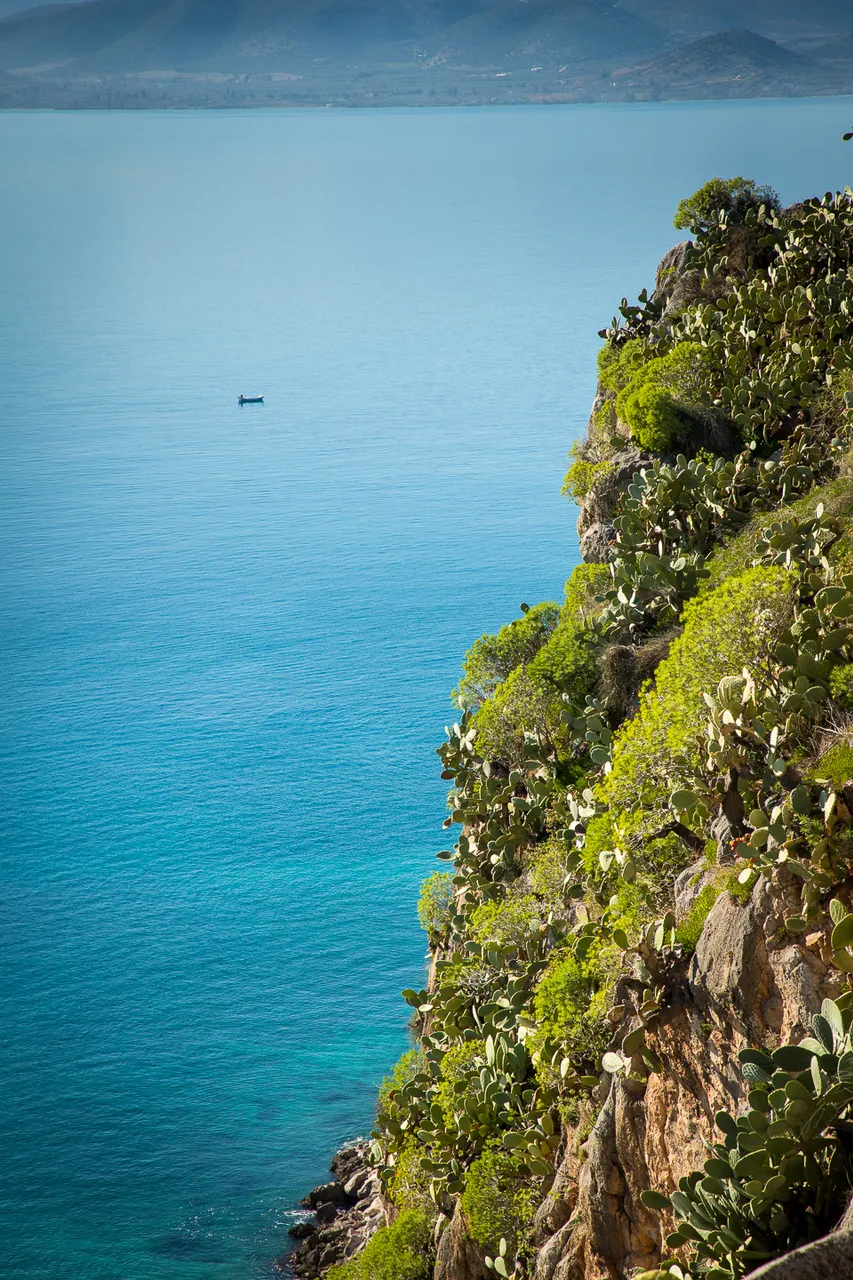
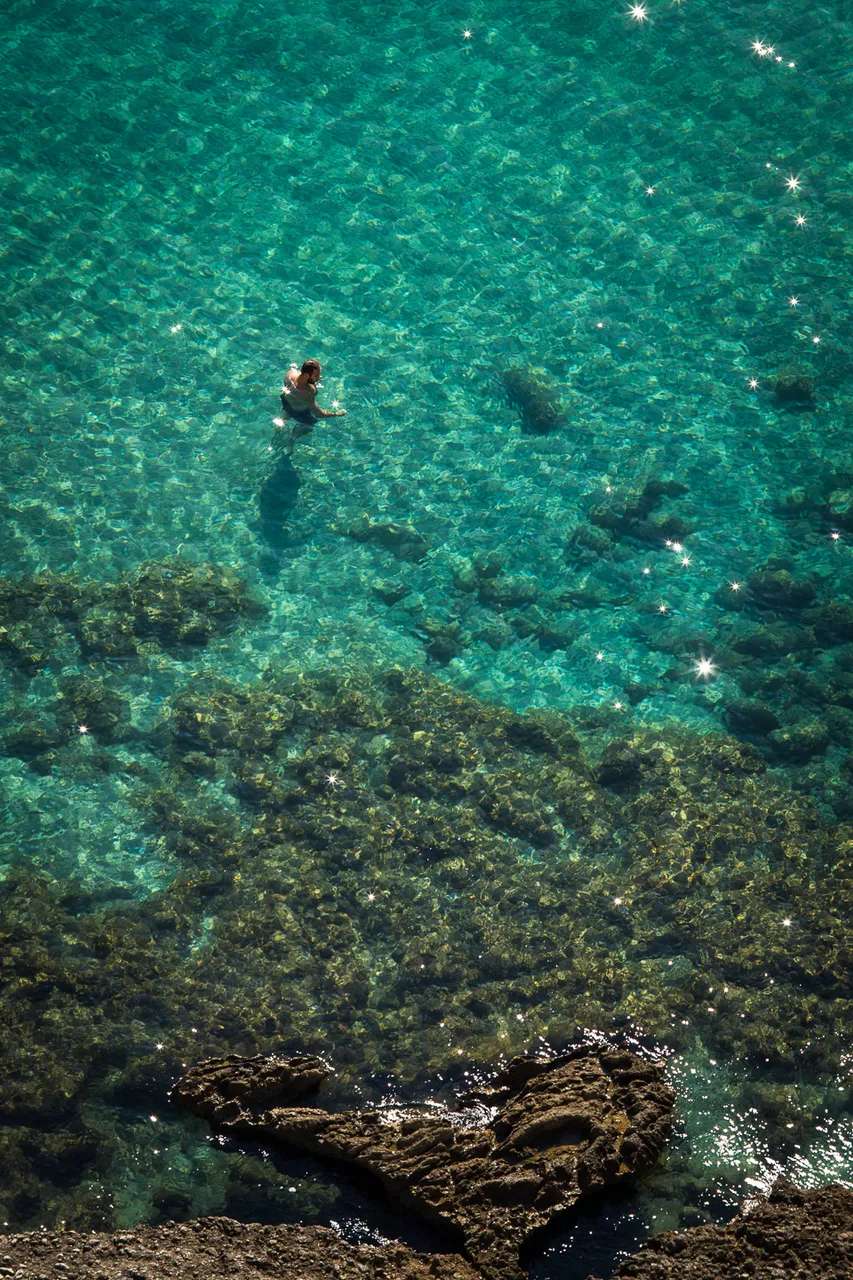
And a few bonus shots to spice up a little bit the post! All of them taken during the one hour I spent on the spot.
Thank you for reading and if you want to know more about me you can check out my introduction post.
Commenting, upvoting and resteeming are highly appreciated!